For all the tips, tricks, techniques and information, read our complete guide here.
What Is Architecture Photography?
Architecture photography is a lot less dynamic than other photography fields. Especially compared to photojournalism or sports photography. You spend a considerable amount of time mulling over a scene or environment. This means your camera doesn’t need to focus on speed. Or continuous shooting modes, for example. You need to focus on quality. Use a low ISO, capture your images in Raw and utilize editing tools. With these, you are halfway to capturing stunning images. In architecture photography, you need to focus on composition rules a lot. A building can look stunning but if you don’t know how to fit it in your frame, it might look average in photos.
Camera Equipment
A few lenses in your camera gear will allow you versatility. You can photograph a multitude of different structures and scenarios. Some photographers use specialized equipment. A large-format camera helps to minimalize parallax errors. These are often found in angled images of structures. Other equipment, such as tilt and shift lenses also add a creative touch to your shots.
Find the Perfect Camera for Architecture Photography
Great architecture images are photographed using many different cameras. Large format was the standard for architecture photography as it provided high-quality images. They also helped keep a strong perspective control. Nowadays, using your iPhone could result in powerful architecture and interior photography. The quality of DSLRs and mirrorless systems allow you to capture amazing images. You don’t even need a top-of-the-range camera. One thing you do need to consider is being able to change lenses. This is important for the many different scenes you will come across. Read our article here and find the perfect camera for your architecture photography.
Lens Recommendations
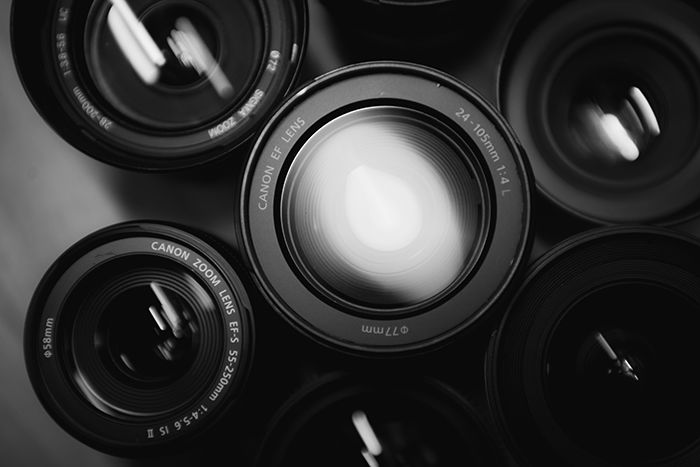
Lenses in architectural photography allow you to capture structures in dynamic ways. Some, such as prime lenses will give you very sharp images, and less distortion. Yet, to photograph a closer scene means you will need to move closer to the subject. Zoom lenses allow you to capture a wider or closer frame without moving. But their sharpness can diminish at different focal lengths. Tilt-and-shift lenses are something you need to consider. They help to eliminate perspective distortion. Check out this guide to learn more about the best lenses for architectural photographers.
5 Best Tripods and Monopods to Buy on a Budget
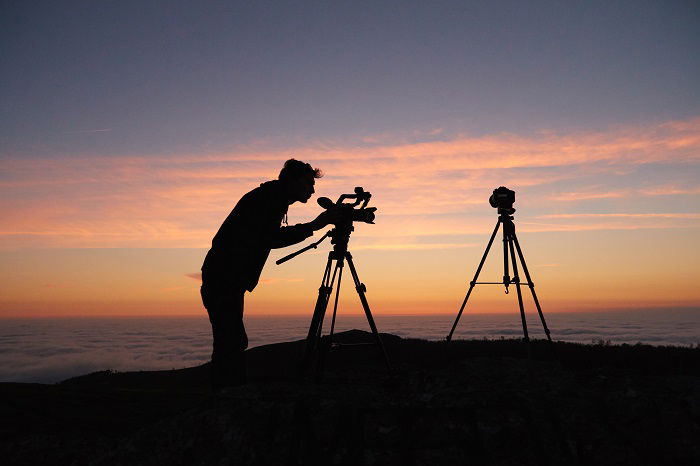
A tripod is almost always essential in architecture photography. This keeps your camera still, keeps it in the same place for image fusing and gives your arms a break. Architecture images can look great with long exposures. Here a tripod is compulsory. A tripod offers you stability, and can even add to the height of the perspective. They are used to get closer to the ground. Some are used alongside other accessories for seamless panorama photographs. Read our detailed article about the best tripods and monopods to buy on a budget.
12 Must-Have Accessories for Architecture Photography
If you wish to experiment with long exposures, a graduated ND filter is a great item to have. This filter cuts out the amount of light hitting the sensor. This is great when you have exhausted your exposure triangle options. A cable release or off-camera shutter release system is great for keeping the mirror shake to a minimum. It also means you don’t have to hold the button yourself for extended periods of time. One item that is beneficial is the spirit/bubble level. In architecture photography, straight lines are very important. This little gadget helps to keep your camera level on three different levels at the same time. Read more on the must-have accessories for architectural photography.
What Is a Tilt-Shift Lens and How to Use One
A tilt-shift lens is a lens in which the optics inside can tilt and shift, in relation to the image sensor. Newer lenses also rotate, allowing the lens to tilt and shift in a wide range of directions. These lenses have a perspective correction in mind. They help to maximize or minimize depth-of-field in photography. A tilt places the lens plane and image plane (sensor) in an unparallel manner. This allows a full-range focus with a small aperture. The shift feature stops the possibility of any converging verticals from capturing buildings. Check out this article to learn how to use a tilt-shift lens.
How To Capture Architecture Photography
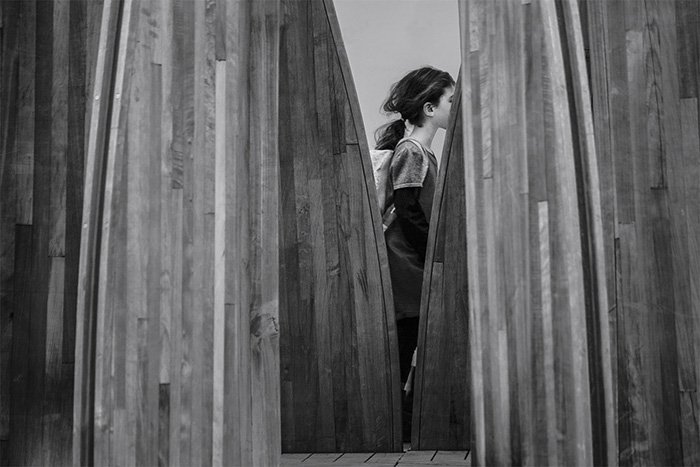
Architectural photography allows you to take a little more time photographing your subject. Your structure isn’t going to move anytime soon. Yet, you can use this extra time for scouting the best camera placement. This field is a little more tricky when it comes to composition and perspective. Aim for straight lines and a clean and powerful frame. The keyword here is quality. There are many different subjects you can photograph. All imploring you to use your creativity.
12 Tips to Perfect Your Architecture Photography
Architecture is great because the structures look very different in the day and in the night. Their meaning and mood changes. The same goes for weather conditions. A winter scene of the Eiffel Tower will differ from the same image shot in spring. Use this to your advantage and show the structure off in different scenarios. Find your structure, and visit it many times. This way, you get to see how the different levels and angles of light affect it. There are many different ways you can photograph the same building.
What Is Long Exposure Photography and How to Get Started
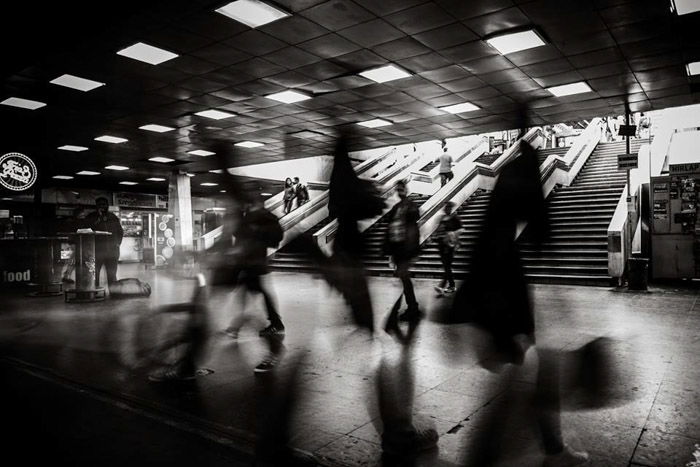
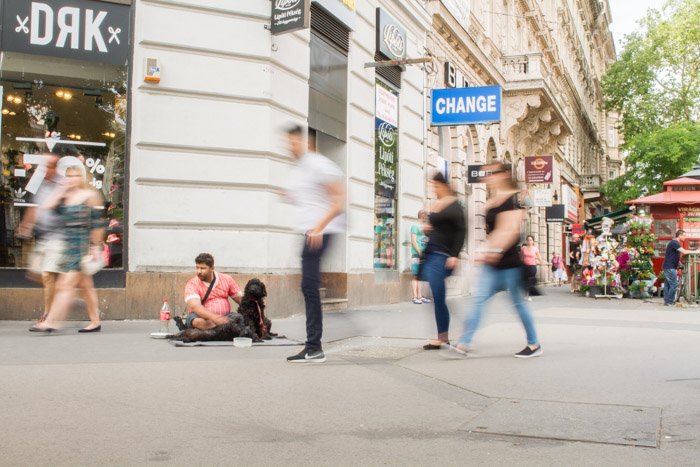
Long exposures of buildings and architecture subjects can have very powerful effects. You can use this technique to enhance the details in the sky and clouds, darkening the mood. This is also a great way to drop distracting subjects. During a long exposure, all moving subjects, such as people and cars become blurred. A lack of definition allows more attention to the structure. If water is present in the form of a river, lake or sea, a long exposure can cut out the texture. This effect creates some interesting, abstract images. A style, such as this, adds interest and atmosphere to your architecture. If you want to learn even more about shooting amazing long exposure photographs, check out our course Infinite Exposures.
10 Tips for Adding Human Elements to Architecture Photography
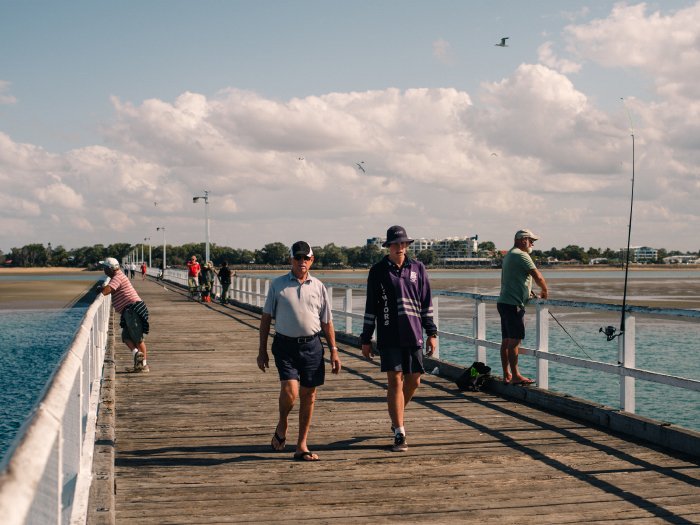
People make architecture, so allow them in the shot. By including a few people in your image, you give the structure a sense of scale. They could even interact with the object, giving it meaning. The viewers will look and focus on the person or people in the image. This can pinpoint details and functions that might have been missed otherwise. A ghost city can make the scene look a little apocalyptic. By including people, you make it more accessible to the viewers, and more alive. However, you will need the patience to get the right look from their body language. Check out this article to learn how to add human elements to your architectural photos.
How to Use an ND Filter to Remove People from Long Exposure Shots
We get it, people can be a drag. You saved up enough money to travel far enough to photograph your favourite landmark or building. But it is already swarming with people. These people ruin the shot, and it wouldn’t be the same with them in it. We have a solution for you. Use a long exposure and an ND filter to remove those waves of people. Read our article here on how to do it.
15 Tips for Breathtaking Cityscape Photography
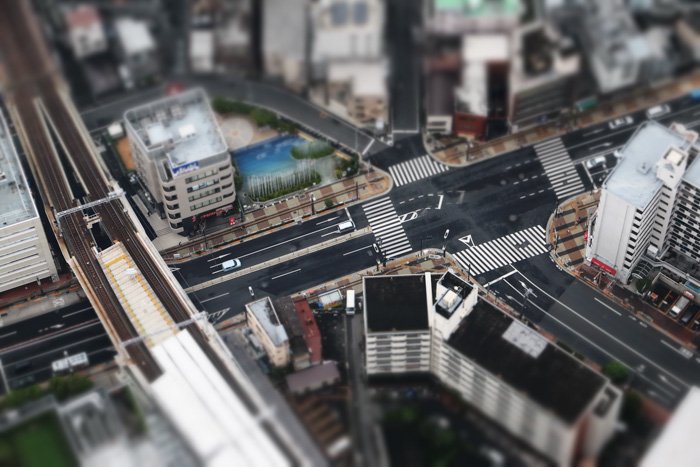
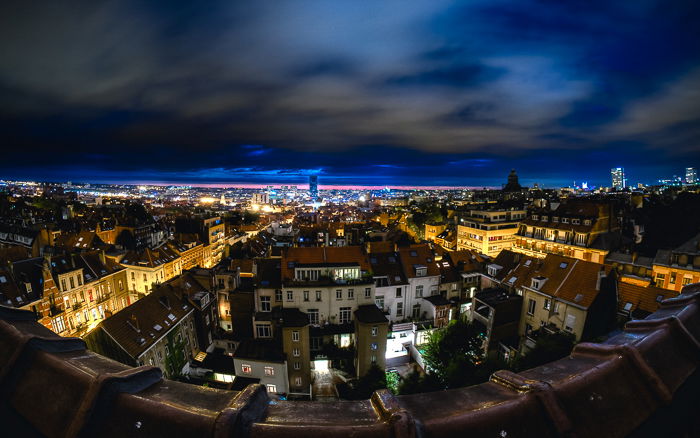
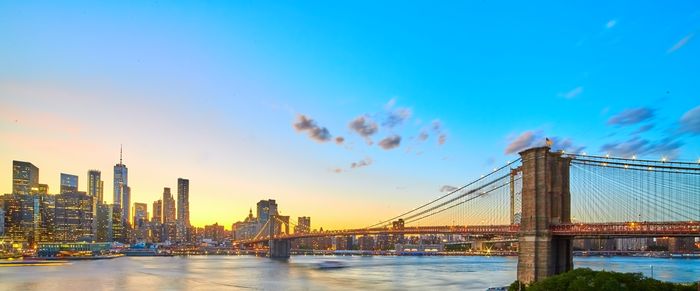
Cityscape is a photograph where the city lies out in front of you. This incorporates a structure amongst many other buildings, bridges, and skyscrapers. Water can also work, as this gives a natural texture. Try photographing the city right after the sun sets. This twilight or blue hour can add a beautiful definition to the sky, as the lights in the city pop on. Get up high, and shoot the whole skyline in this manner. Intersections are also great places to photograph from a high perspective. Looking down makes everything smaller in comparison to the structure. This will emphasize its size and importance. Read the rest of the tips here for taking breathtaking cityscape photography.
Photographing Tall Buildings
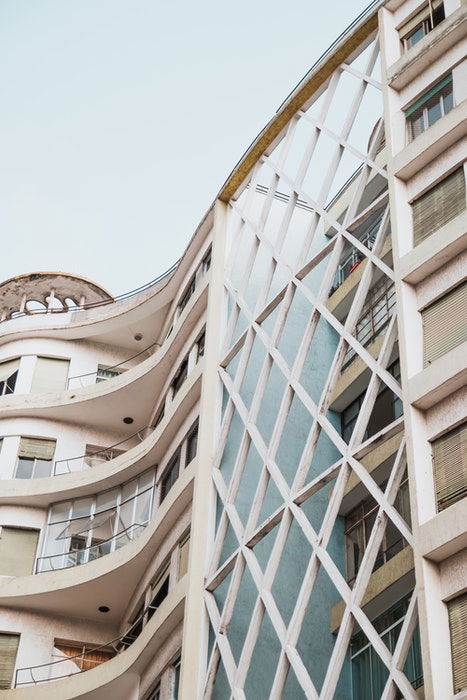
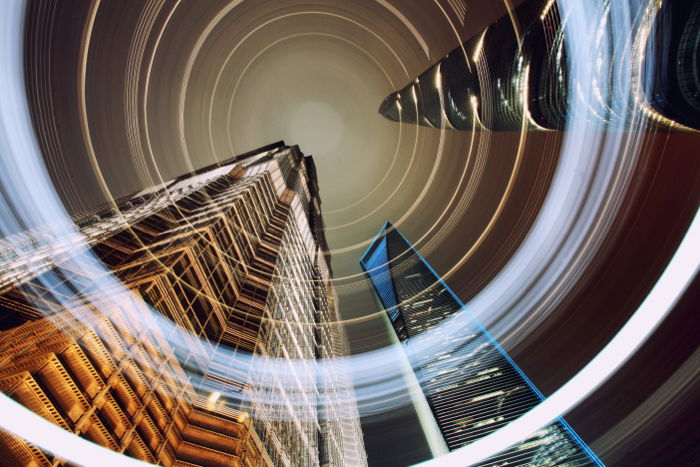
Do you have a drone, use of a helicopter or access to a balcony? If not, most of your images are photographed from the bottom up. This means looking at huge buildings from the base, trying to find the tip. To give yourself enough space, find a corner and head on over to the opposite side of the street. This will give you a vantage point, fitting in as much of the building as possible. Set your camera to manual focus and use a small aperture. F/16 will ensure the building is in focus and will cut the light hitting the sensor. It will also allow you to use slow shutter speed, for dramatic skies. Read more on how to photograph tall buildings.
Photographing Skyscrapers
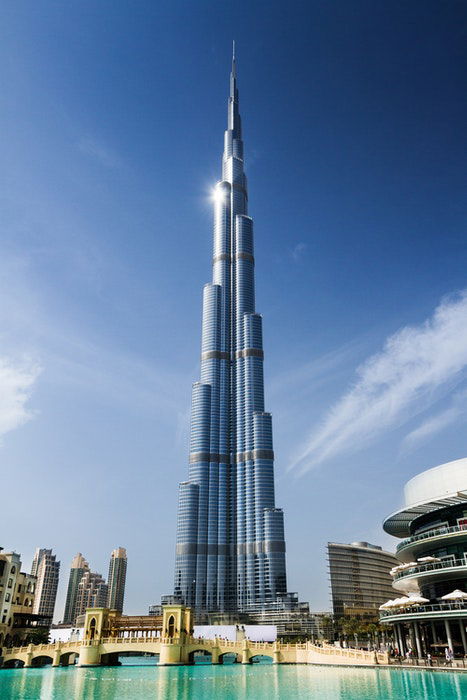
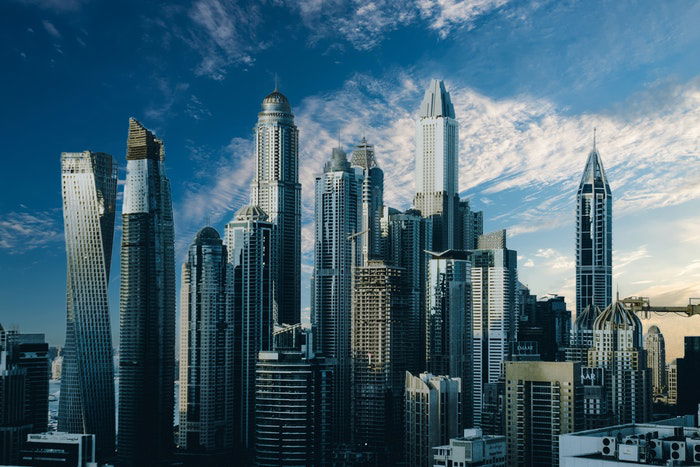
If you happen to be in a place where you can find skyscrapers and tower blocks, they are a great subject. You might be shocked at their immense size, especially if you are not used to seeing them. Here, filling the frame with your subject is an interesting compositional rule. This makes the building seem large, as you can’t see where it starts or ends. Focusing on a few details within a smaller frame can set your images apart. They allow the viewer to get closer to a subject. And this creates interest. Learn more about photographing skyscrapers here.
An In-Depth Guide to Nighttime Architecture Photography
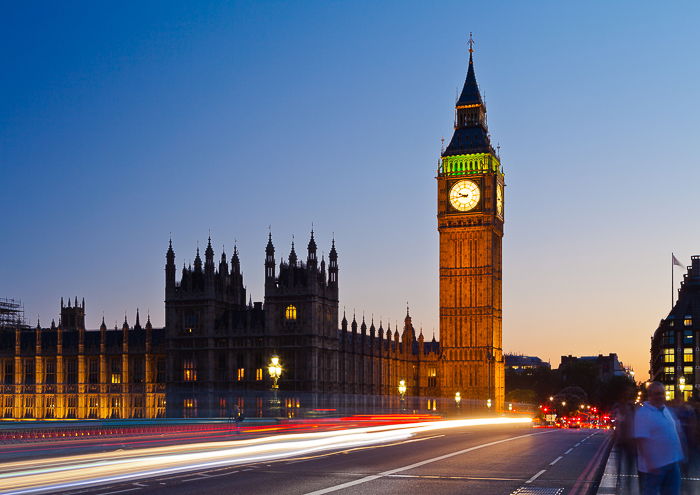
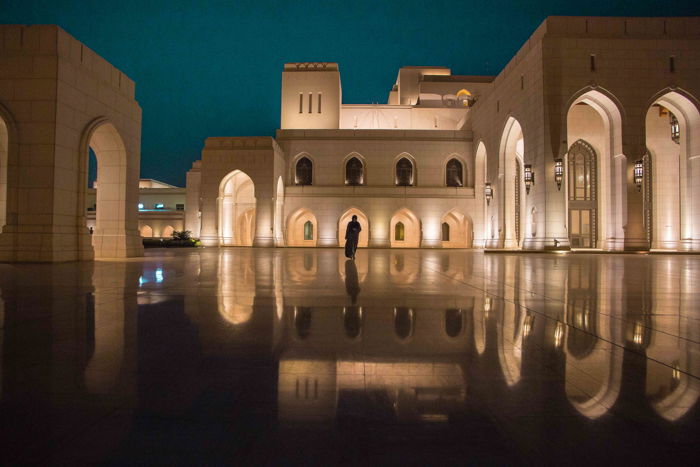
Photographing architecture at night can help you create something spectacular. Most of us see the buildings in the day, hiding away during the nighttime hours. Seeing the same buildings at a different time creates interest. Long exposures can show you trails left by cars, adding a captivating detail. You will need to change the settings on your camera for these low light conditions. Read here for tips and techniques.
iPhone Architecture Photography
Photographing has never been easier. Especially since you already have a pretty darn good camera in your pocket. Our iPhone can take great photographs. And you can even edit them on the phone itself. What you need to look out for is interesting architecture. Look for shape, form or texture to photograph. Lines and curves work well, especially when repeated. Every building has something unique about it. You only have to find it. Use different perspectives, look at the simplest form of the structure and try and capture it. Read our extensive tip list here.
10 Tips for Fine Art Architecture Photography
Architecture photography has a very big place in fine art photography. It is an area where you can take your time to plan and experiment, as they are static structures. The perspective you choose can give precedent to areas of the architectural subject. Here, you create a feeling and mood of the setting. The building or structure needs to first evoke an emotion in you. How you interpret the subject through your initial impression is important. Read the rest of the tips here for fine art architecture photography.
Real Estate Photography
Best Camera for Real Estate Photography
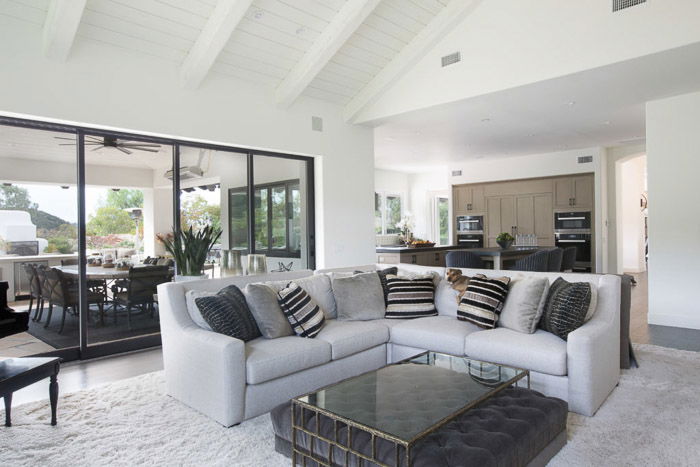
Real Estate photography is capturing the interiors and exteriors of buildings or property. This might be for promotional purposes or to document. If you are looking to use a DSLR or mirrorless system, there are few things you need to think about. Are they full frame or cropped? You’ll find more information here about the different camera types you can use for real estate photography.
What Is the Best Lens for Real Estate Photography? Our Top Picks
The lenses you will use for real estate photography will show more or less of the scene. Your choice will depend on the space you are capturing. A wide space, with little space to move around, requires a wider lens. A 24 mm or lower focal length is perfect for this scenario. If you have a large space, and freedom to move, you can get away with a standard lens. Detail shots can work with an 85 mm portrait lens. Read our article here on which lenses work best for each scenario.
Making Money From Interior and Real Estate Photography
Real estate or interior photography can be a profitable area of architectural photography. Websites showing rentable accommodation, such as Airbnb, all need images. These are for marketing and advertising purposes. We also need images to show us what we could buy, in the area of real estate. Hotels, hostels and every kind of accommodation type all need images. This is so they can keep up with their competitiveness. Read our article here on how to make it profitable for you.
How to Take Professional Airbnb Photography
One way to make money from real estate photography is to shoot for Airbnb. Having professional photos of the rentals can make a huge difference. And Airbnb owners know that too. Workin as an Airbnb photographers means that you have a flexible schedule and are able to enter cosy homes. Plus, you will meet nice hosts too. If the service is available in your region, you can apply to be a freelancer at Airbnb. You need to have an online portfolio to be considered. If you want to know more about how to apply and take photos for Airbnb, read our article.
12 Secrets for Shooting Incredible Hotel Photography
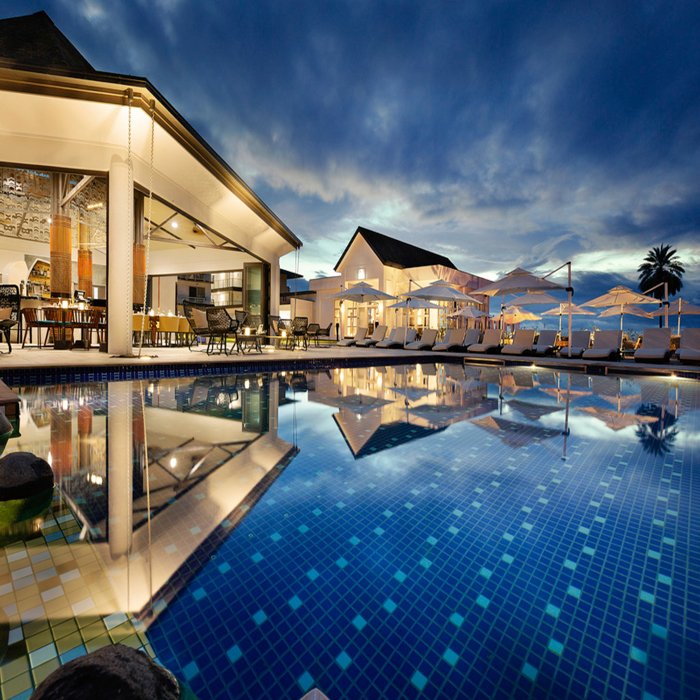
Do you have a passion for traveling? Then you should consider getting into the hotel photography business! This is another excellent way to make money from real estate photography. When you take photos of a hotel, you have to follow the key guidelines of real estate photography. But you have to involve the client more. Hotels have a detailed marketing strategy they follow. They also have a consistent brand image. Hotels want to create an aspirational story through the images. Hotel photos are not selling the rooms. They are selling the experience of staying at that specific property. Read our article to learn more about hotel photography.
Composition
10 Composition Tips for Better Architecture Photography
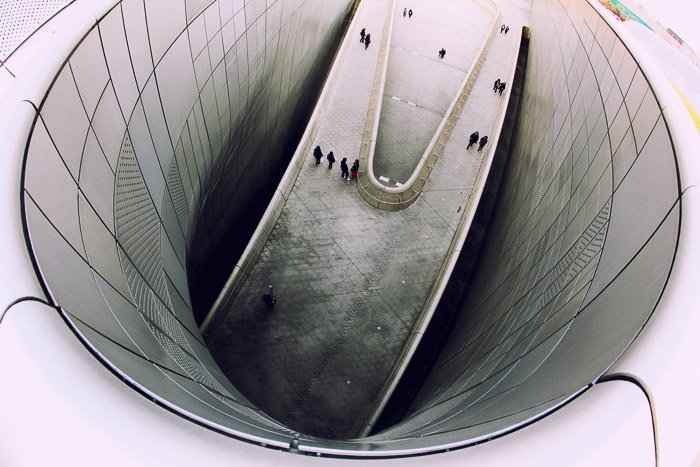
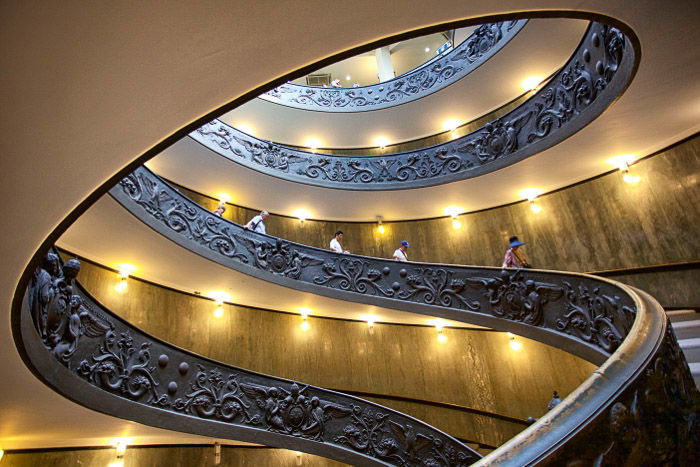
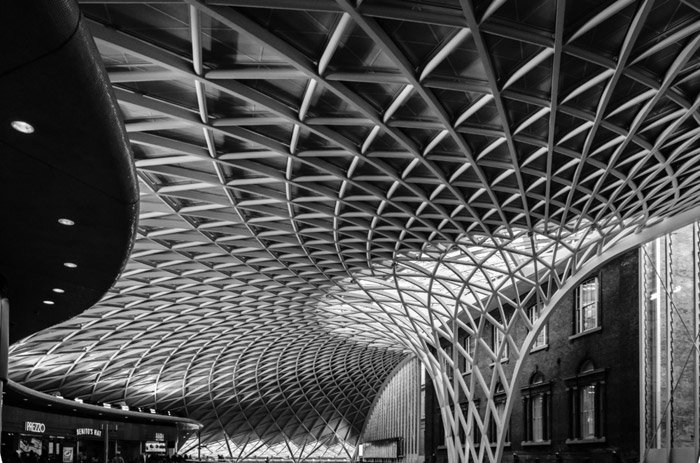
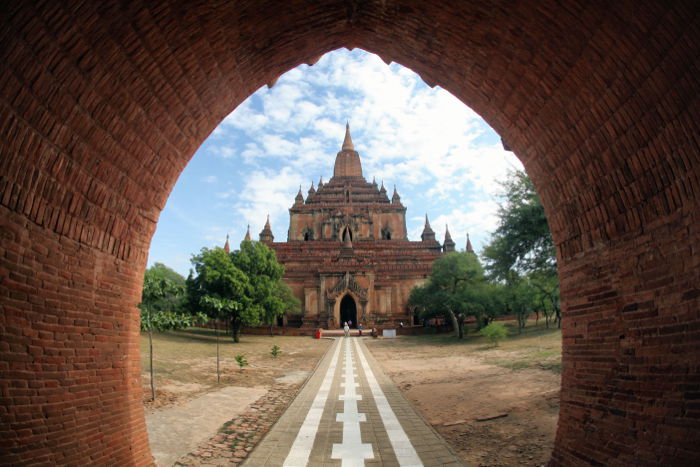
When it comes to architecture photography, composition is very important. You will find lots of leading lines all over the city and the structures you are photographing. These lines lead you to details or the most important areas of interest in the photograph. Don’t overlook these specific details that make the structure what it is. By photographing these you show the structure in a different and interesting light. Symmetry is a very common rule of composition within architecture photography. Read here the rest of the composition tips for better architectural photography.
8 Architecture Photography Tips for Better Photos
These advanced tips are here to help you look past all the basic ideas of photography. The camera gear, equipment, and accessories are items that aid your photographs. These tips are there to help you gain deeper knowledge. Look for a possible message, experience or emotion you want to portray in your work. This article helps where and when to use things such as micro-contrast. It also helps you use the blackest areas of the photograph in relation to the mid-tone grey areas. Your photographs will benefit from reading these tips.
Resources
The Photographer’s Ephemeris Review: Why Use TPE?
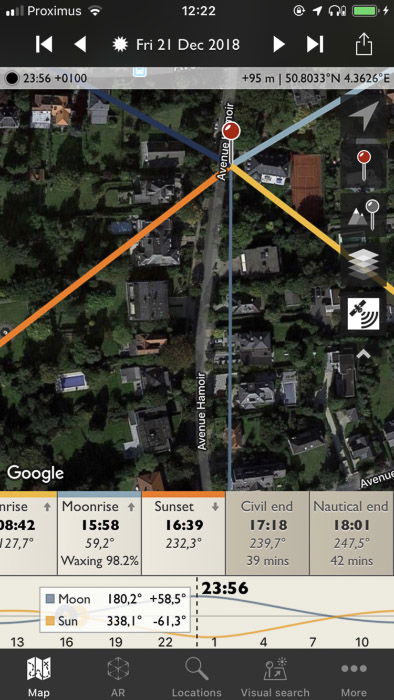
This is a web-app that can help you visualize how your shot will be in a particular location. You can see how light falls on your spot, both day and night, by the sun and moon location calculator. For example, if you want to photograph the blue boathouse in Perth, WA. You can see where and when the sun will rise on a specific day. You can also check it with the sunset, moonrise, etc. The Photographer’s Ephemeris also includes an iOS and Android version. Read this detailed review to learn more.
Post-Processing Architecture Photography
Post-processing architecture can help to bring out details of the structure. This points viewers towards the most interesting points. You can change the exposure values and pull out details from the shadows. You can use software such as Adobe Lightroom and Photoshop to convert images to black and white. And you can also use these software packages to create something abstract.
Understanding Distortion
Distortion can have a big effect in any field of photography. The assembly of the lenses and how they relate to the sensor creates unnatural warping. Almost every lens will have some sort of distortion. Wide-angle lenses can suffer from barrel distortion. Zoom lenses endure pincushion distortion. Telephoto lenses that move from a wide-angle to a zoom focal length suffer from both at their extremes. The other form of distortion comes from Parallax Error. This is down to your perspective and makes the images closer to the lens much bigger than the background. Read on more here to understand distortion
Fixing Lens Distortion
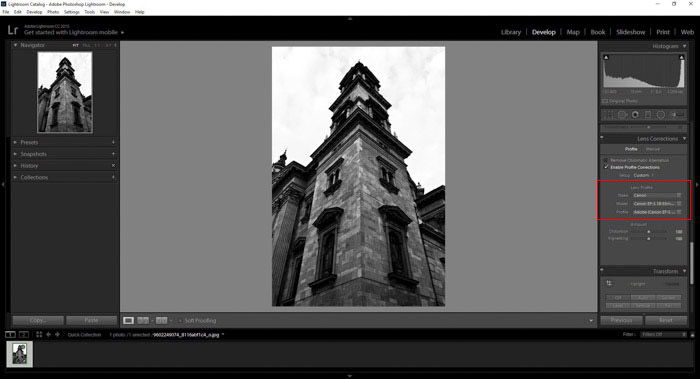
Fixing lens distortion in the past was very difficult and expensive. High-end lenses or large format cameras were the only way to minimalise or cut down on this warping. Lightroom and other programs such as Photomechanic have built-in lens profiles. These can correct the lenses’ distortion for you. Tweaking the vignetting and the amount of distortion comes at a click of a button. The ‘Transform’ tool in Lightroom is a very adaptive tool. It can help with perspective distortion. It uses a system of finding the lines you want to keep straight and changes the perspective of the image. To learn how to fix lens distortion, read on here.
How to Remove People from Photos Using Photoshop
People make architecture. Without people, there is no architecture and vice versa. Yet, there will be some times where you want to diminish the importance of the crowd. By taking away their importance, the public becomes a secondary focus. This keeps the building in the limelight. This is also a handy way to remove traffic, and show off the structure. Learn here how to remove people from photos using Photoshop.
10 Tips for Using Luminosity Masks in Digital Blending
Luminosity masks are a feature in Photoshop that helps you isolate areas. These areas of high light intensity, captured in the photograph’s pixels. With these selections, you can select areas of the photograph and only work on specific tones. This saves the whole image from editing. These are great to help boost the focus and look of a specific object in your frame. This article gives you a great rundown, from creating the masks to the finished image.
How to Use HDR for Interior Photography
HDR (high dynamic range) or image fusion is a process of stacking 3/5/7 images together to create a correct exposure. This comes from photographing a scene with a base exposure. Then, adding many images of different over- and under-exposed images. You might find that a series of 5 images will have exposure values of 4/-2/0/+2/+4. When stacked together in Photoshop, the exposure values come from all three images. Overexposed images pull detail from shadows, the underexposed images work on the highlights. This is a great way to capture a building and the bright sky with correct exposure. Read our guide on how to use HDR for interior photography.
10 Tips for Smartphone Photo Editing
Processing images on your mobile have its benefits. If you photograph with your smartphone, it helps to keep everything in the same place. It is also easy to share from the same device. You can even process the images in the same location as you shot the image. This is great because if the image doesn’t work so well in post-processing, you have the possibility to re-shoot. There are many apps you can use for your images, and photographers tend to use more than one. Different development companies offer different things. There are apps that replicate old film styles from the 80s that no longer exist. Others that can turn your images into double exposures. This article gives you smart choices for your smartphone. Especially to take your architecture photography to the next level.
Lightroom
Lightroom is a great tool for any photographer. This program has two main functions. It acts as a fast and accessible library for all your architecture photography. You can put your images into folders, and keywords can help you organize them. The other area is the editing of your images. It has a no-nonsense platform. Here you can adjust the exposure, or even correct your lens’ distortion. A program such as Lightroom is none destructive, so you can always revert to your captured image. You can even export to Photoshop if you need more complicated post-processing. Read this article to learn more.
Lightroom Presets
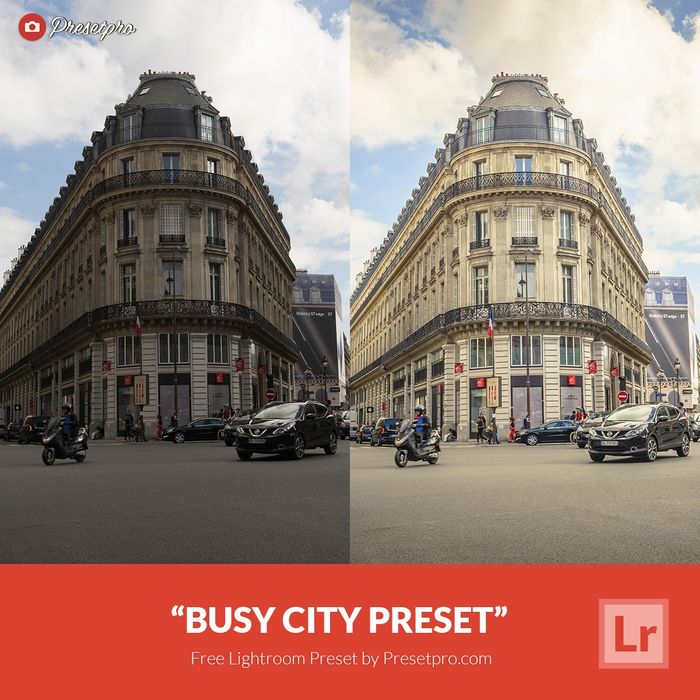
Presets are a great way to process many images. This saves you time to focus on other post-processing work. These presets are pre-designed adjustments that work when imported into Lightroom. They are then used at the click of a button. They are also very tweakable for better adjustments, more specific to your images. This is a great advantage that allows you to apply the same white balance or exposure to hundreds of images in one go. Check out the best free Lightroom presets.
Photography Laws
Street Photography – Know Your Rights
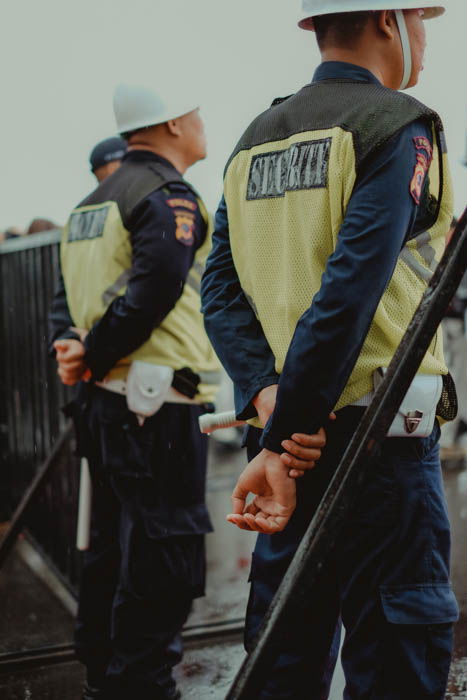
You might photograph the street, and then turn your camera to point it at a building that seems interesting. As soon as you do, a security guard comes to tell you that you need to have permission. Photographers in the past have been harassed and searched. Only for photographing things, others tell them they shouldn’t. This is where knowing your rights can help you as a photographer. These laws help you be creative and as free as possible, but you need to know them. This will stop you from taking unnecessary risks. Cut down on wasting time and get stunning images you can use. This article links to pages looking at the rights and laws in different countries. From Australia to the USA.
Freedom of Panorama – What It Means for Photography
The freedom of panorama is the legal right to publish pictures of artworks which are in public space. This is an exception to copyright law and differs from country to country. These artworks encompass sculptures, buildings, or monuments in public space, and under copyright. You are still able to photograph these without a problem. Some countries are very strict when it comes to their artworks. A few have made it illegal to share these images on social media. Check this article to learn more.
Copyright for Architecture Photography
Copyright law protects architectural photography. This law was changed in December 1990 to include the trend of photographers selling stock images online. This law was not created retroactively. So all buildings created before this change are free to photograph. Unless the building cannot be seen publically. These buildings cannot be legally photographed for commercial purposes. Learn more here to stay on the safe side.
10 Things Your Photography Contract Must Include
A photography contract for architectural photography is to ensure parties keep their rights. It makes sure that neither side can do anything with the images. Especially things that were not pre-discussed and agreed upon. There’s a risk of prosecution from either side if consent was not given. One rule for photographing people is to get a release. This is a contract between both parties, allowing the use of the building’s image. Most stock photography requires this if you wish to sell or use the images online. Read here for the other nine tips on what your photography contract needs to have.
Conclusion
Architecture photography is a unique field full of potential opportunities. You can also take advantage of your creative side as no two buildings or shapes are alike. Study the above tips, experiment, and get ready to take your architecture photography to the next level!


