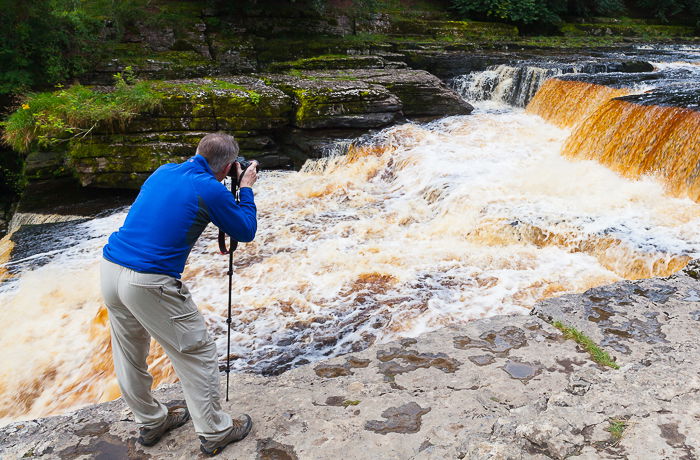
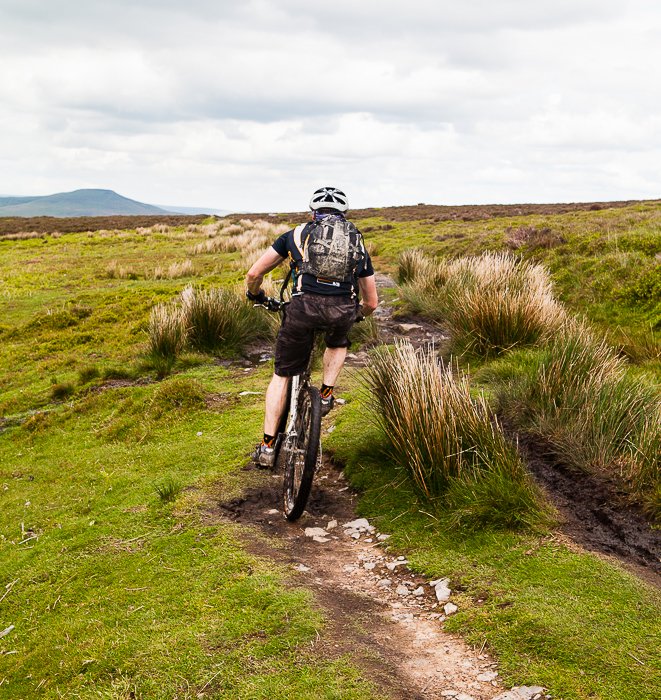
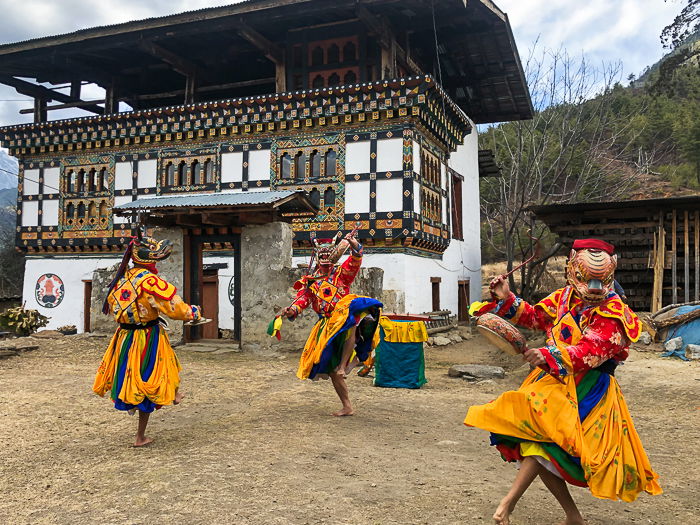
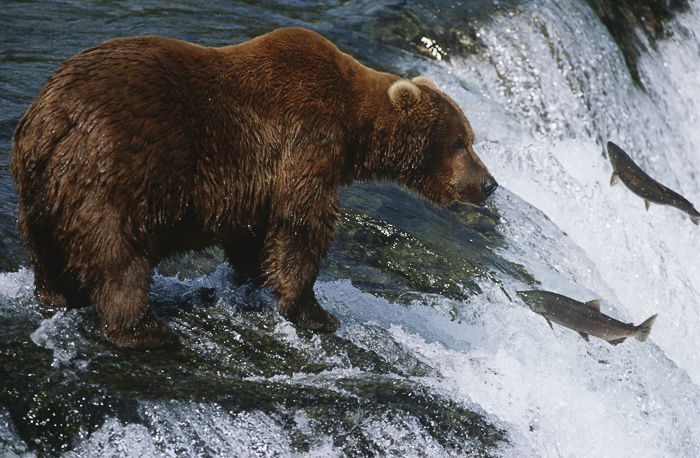
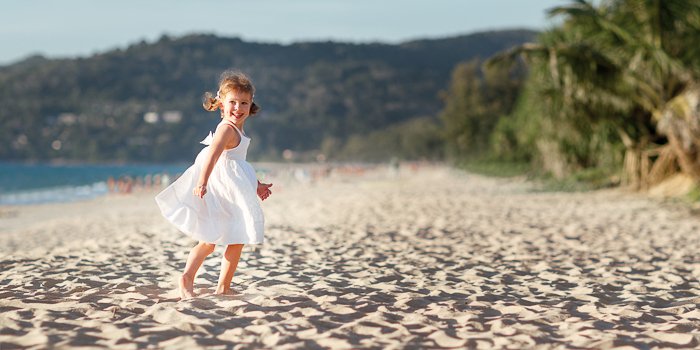
When that subject is moving fast like running or dancing, it can become even more challenging.
How to Freeze Motion in Photography
Here is how to freeze action in your photography.
Start by Selecting the Correct Focus Mode
A good starting point for being able to freeze motion in photos is to select continuous focus. This is because the first challenge to freezing images is ensuring that you are focusing on the correct part of the image. The problem you face when trying to focus on a moving subject is that as soon as you focus, your subject has moved. Like someone cycling towards you. If you use single-shot focus mode, by the time your camera has taken the photo, the cyclist would be closer to you. The focus point would have changed. Continuous focus mode keeps on focusing on your subject. As you hold down the shutter button halfway, the camera keeps on focusing. When there is movement in photography, this is the best mode to use.
Select Shutter Priority Mode
When you are photographing a moving subject, you won’t have time to change or adjust settings. So choosing a semi-automatic mode makes life a little easier. By selecting shutter priority, you can set your minimum shutter speed. That leaves the camera to select the aperture and ISO accordingly to allow you to achieve that shutter speed. This is because your shutter speed is the most important element to freezing action. Most DSLR cameras will also allow you to select a maximum ISO. This is so that the camera doesn’t bump it up too high. You can use manual mode if you are confident. Or if you are seeing repetitive action from the same place. If you are sitting in a grandstand and racing cars are driving past, then they will keep coming around. Your settings shouldn’t change much from lap to lap. But to be safe, I would always choose a semi-automatic mode such as shutter priority.
Use a Fast Shutter Speed
The other important setting to get right is your shutter speed. For any sort of freeze motion photography, your shutter speed has to be fast. How fast this shutter speed needs to be will come down to what you are photographing. If you want to freeze the motion of someone walking, you may need a shutter speed of 1/200 s. But if you want to freeze action during a formula one race, your shutter speed might need to be as fast as 1/2000 s. You may wonder how to know what shutter speed to select. Experience will play a big part, and the more you photograph different scenarios, the more natural they will become. To freeze movement in photography, choose the fastest shutter speed that you can. Aim for at least 1/250 s, but remember you might need to go faster. But at the same time, try to keep your ISO as low as possible. Raising your ISO too high will have a negative effect on the sharpness of your images.
Increase Your ISO for Faster Shutter Speeds
There are times when you have no choice but to select a higher ISO. If you don’t, it might mean you can’t select a fast enough shutter speed to freeze the action. Don’t be afraid to raise your ISO, but only raise it as much as you need to. You can use post-processing software to remove some of the noise and grain from your images. But if it is too high, it will affect the sharpness of the image.
Use a Wide Aperture
The third element of the exposure triangle is the aperture. The smaller your aperture is, the greater the chance that you can capture the whole subject sharply during movement. That doesn’t mean you should select very small apertures of say f/16. The issue here is that the smaller your aperture is, the slower your shutter speed will become. The only way to increase your shutter speed will be to increase your ISO. This, in turn, will mean more noise which means a lack of sharpness. Besides this, there is also the creative side of selecting a small aperture in this scenario. Usually, when you want to freeze motion it will involve something specific. A car, a person or even an animal. You should try to ensure that the focus of the viewer’s eyes will be on that subject. You don’t want them distracted by other elements around the image. Selecting a wider aperture will blur the background pulling focus to the main subject. Look for a shutter speed of f/4.5 as a starting point and move up from there.
Try Panning for More Creative Images
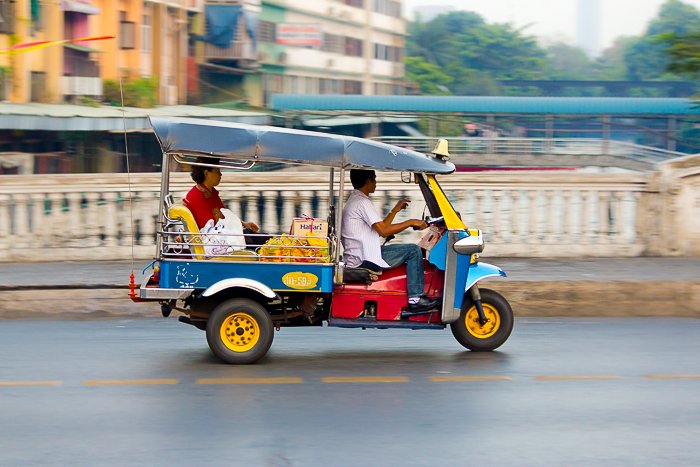
Panning is one of the most common photography tricks. It can be a little tricky and you will need to practice to perfect the technique. Panning involves moving the camera to follow your moving subject once you have pressed the shutter button. This would only work with slower shutter speeds. If you are photographing a car, you will press the shutter button and move your camera at the same speed as the car is moving. This will make the car appear sharp whilst blurring the background. This is a good technique for when things are moving across (i.e. it won’t work if something is coming toward you). It will take a lot of practice and trial and error but it’s another way of being able to freeze motion in photography.
Include Motion Blur for Even More Dynamic Pictures
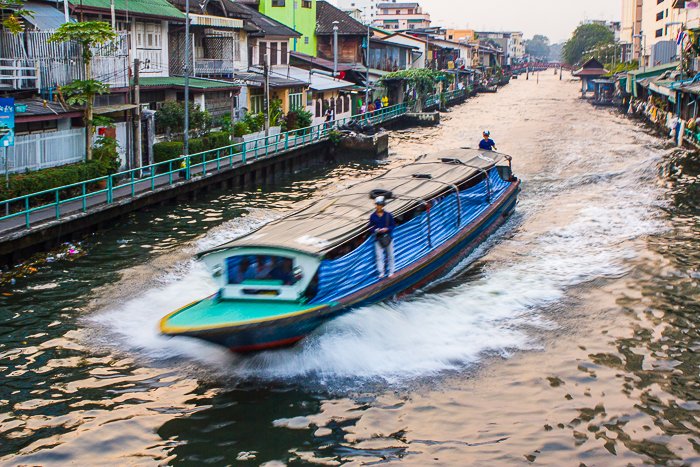
One of the great things about movement in your images is that it adds some dynamism into something static. So whilst it’s great to freeze action, sometimes it’s also great to capture the movement through motion blur. The key is to ensure that you are doing freeze motion photography for the benefit of the composition. Don’t be afraid to occasionally capture some images that are not always freezing movement. Freezing any movement in photography is one skill that any amateur photographer should practice. But if you do find yourself making errors and end up with photos that are not sharp, don’t despair. Instead, learn from those failed photos to ensure that you understand where you went wrong. With enough time practicing, it will become second nature to you.
