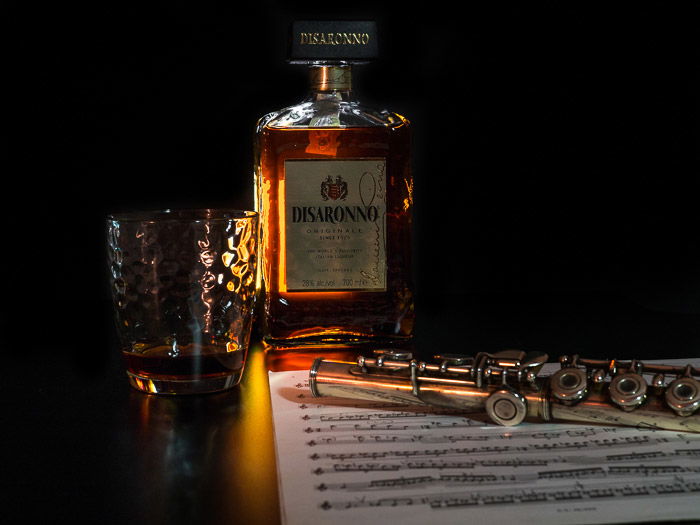
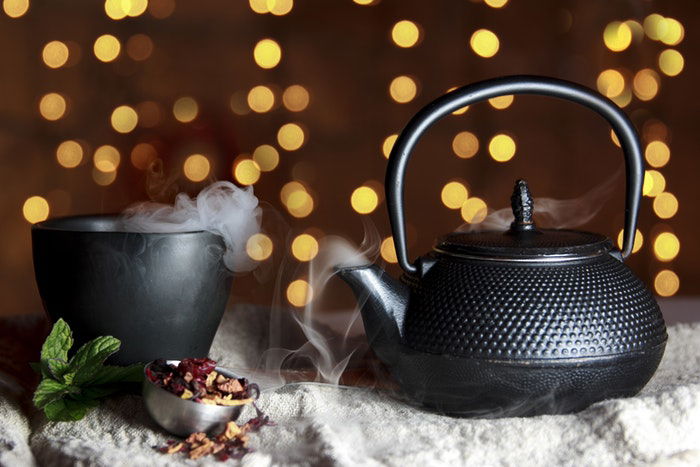
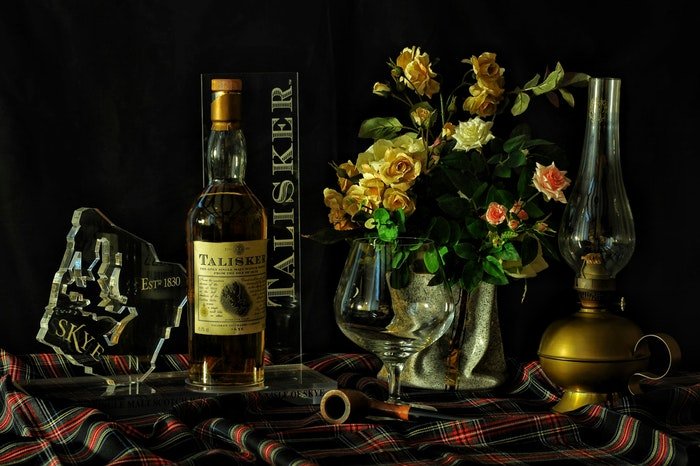
So what constitutes a still life photo? Still life photography is the photographic counterpart of still life painting. Common subjects for still life photography include inanimate items — flowers, food, plants, rocks, etc. Tabletop photography is a branch of still life photography that focuses on capturing items placed on a table. The most common photographic subjects of this genre are food and product photography.
Benefits of Still Life Photography: Why You Should Try It
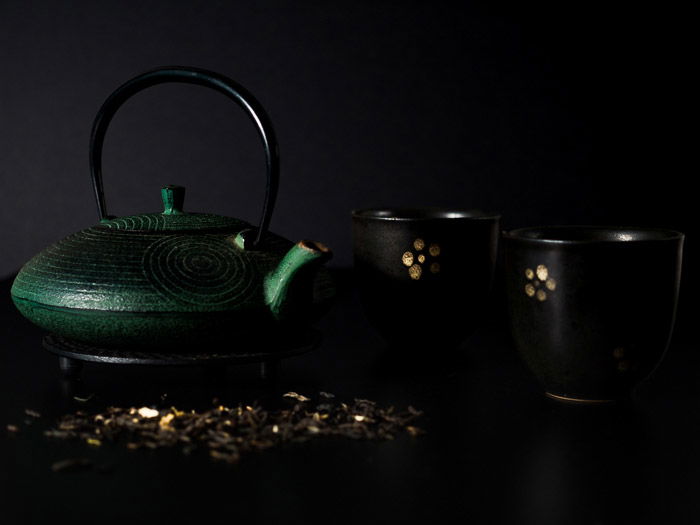
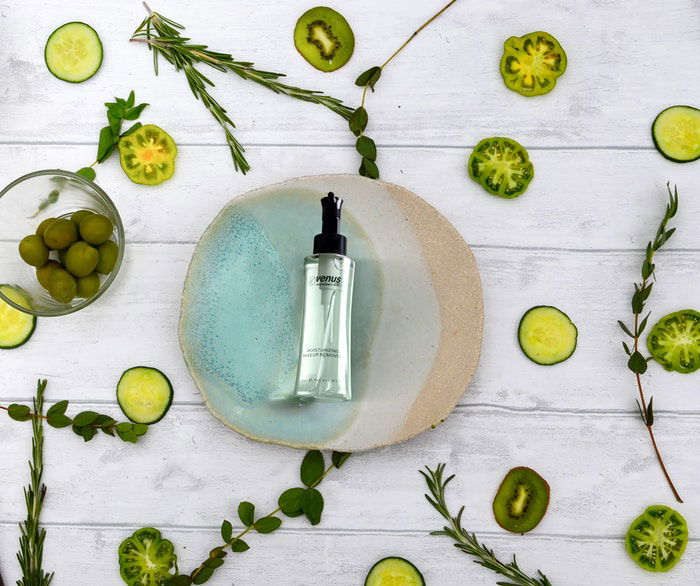
You can learn a lot from still life photography. For example, you are able to observe how the different kinds of light will affect the scene. Did you know that sidelight from a low light source is great to reveal textures? With still life and tabletop photography, you are totally in control of every single aspect of your photo. From staging the scene, to firing the shutter—it is all your decision. Despite the “commercial” nature of tabletop photography, you are not limited to photographing still life in a commercial way. You can always create a nice story-telling image like the one below.
What Do You Need for Your Still Life Project?
A professional may require a suitable set-up and expensive equipment. But you can still take amazing photos with basic equipment in the corner of your living room. Keep costs low by getting creative and crafting DIY accessories and solutions to get the shot that you want. Below, I have provided a list of materials and equipment to begin tabletop and still life photography.
Required Equipment
Any kind of camera. A digital camera is cheaper to run, and you can have immediate feedback, but nothing prevents you from using your film camera. Different materials to create the floor and background for your scene. Small silver and white reflectors to bounce the light back into the scene. These can be easily built using tinfoil and cardboard. Props: look around your house or visit a flea market for interesting, cheap props to enhance the scene.
Recommended Equipment
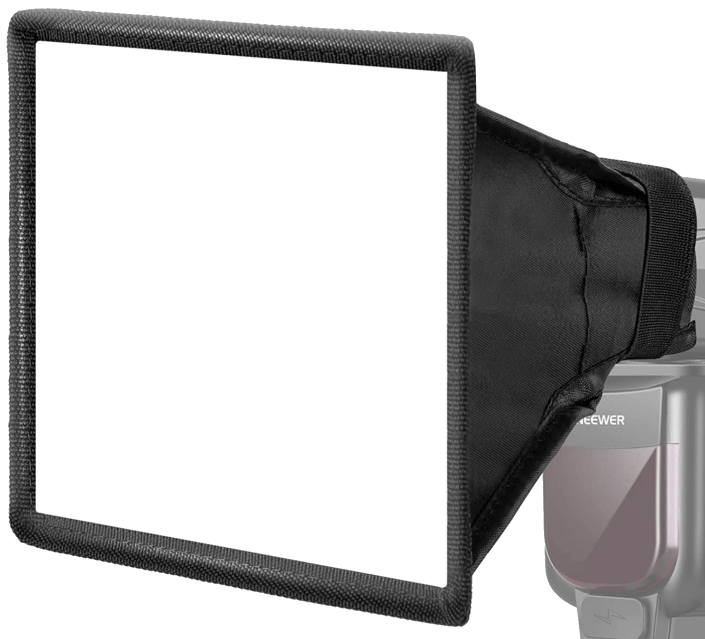
At least one flashgun. Ideally, it can be used in manual mode and has adjustable power. I use a Metz 44 AF-2 digital. You will also need wireless triggers or a fairly long E-TTL cord—to enable flash off-camera. A softbox for your flashgun: I use a Neewer Translucent Softbox, a compact, wonderful and affordable softbox. One tripod. A second one can be necessary if you want to mount your flashgun instead of using it handheld. A telephoto lens and a fast normal lens. Ideally, a macro lens is required, but you can get away with a set of close up lenses. Since I do not own a macro lens, I usually work with a +2 and/or +3 close up lens. It reduces the minimal focus distance of my lenses. Old, manual lenses are good and usually cheap.
I usually use an old, manual, Olympus Zuiko OM 50mm f/1.4 and the Sigma Art 30mm f/1.4 as they are super sharp and cheap. Note that I use those lenses on an m4/3 camera, with a crop factor for the sensor of 2x. This means that those lenses are equivalent to a 100mm, 60mm and 120mm lens for full frame cameras. Generally speaking, for still life and product photography, you are better off staying between the 50 and 120mm focal range.
How to Approach Still Life Photography
Keep it simple. Don’t get carried away trying to craft scenes with many different objects (or food) and materials. Take a minimalistic approach, where the main subject is easily identified. Work the scene to make the most of it. Consider that glassy, shiny and reflective surfaces are the most difficult to work with. Try to avoid them in the beginning. Keep it clean. Still life is all about perfection (even messy setups should be carefully staged) and nothing should be left unchecked. Be sure to clean your props and all visible surfaces of dust, smudges and fingerprints. Be patient. Tossing objects into the scene will not give great results. Think about your composition, how the objects play together and consider leading lines and angles of view. Experiment with the light. Think about what you want to highlight in the scene, the feelings to convey, and the textures to reveal. Write a logbook to note down the camera settings used for each shot. This is particularly useful if you are using manual lenses that do not communicate with the camera body. It is a great way to note how you staged the set and the light setup for future reference.
Four Still Life Case Studies
If I was to tell you all that there is to know about still life photography, this post would never end. Instead, I want to show you what you can do with cheap and basic equipment in four case studies. From the simplest setup to a more complicated one.
Case Study #1
Gear Used
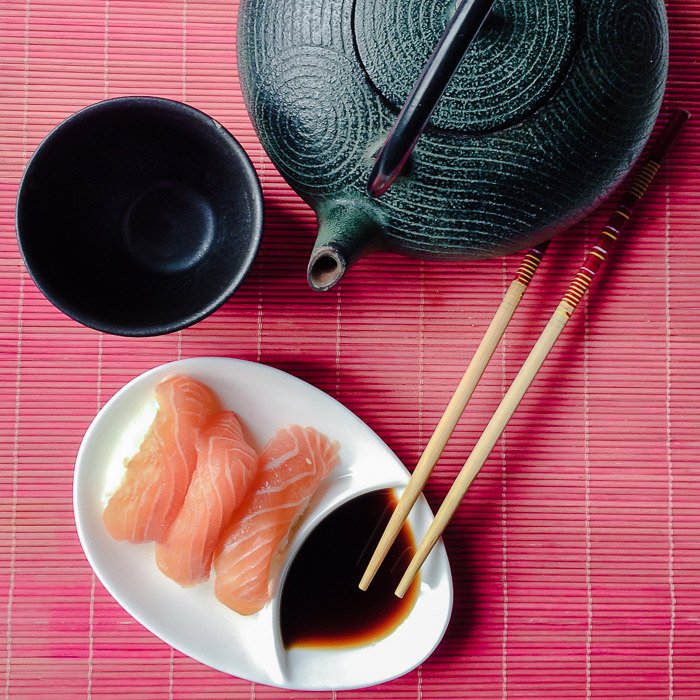
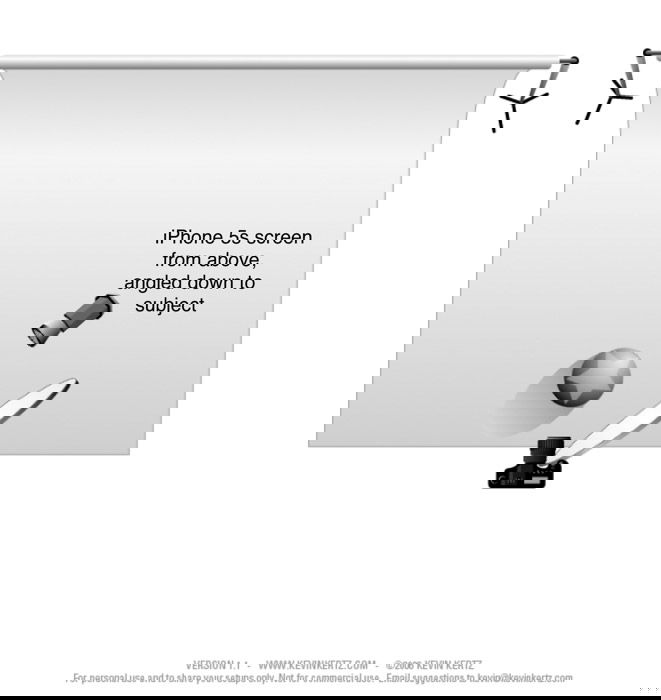
Camera: iPhone 5S Light source: natural light Light modifier: circular reflector
Lighting setup
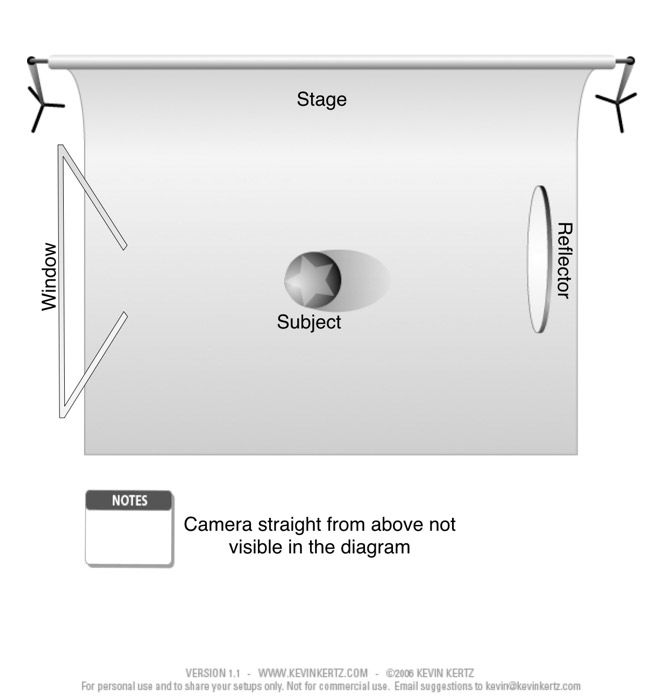
Setup: High Key Key light: a window to the left of the scene Fill light: circular reflector on the right of the scene
This is the simplest setup you can create. It is most suitable for food photos and small scenes. As I had no macro lens for my iPhone, I was unable to fill the frame with the sushi. For this bird’s eye view, I had to stage a scene with some props. I used a pink bamboo placemat on which I placed a nice cast iron teapot with a cup. The freshly delivered sushi was displayed using a small plate with some soy sauce, and a pair of chopsticks were a nice finishing touch.
Case Study #2
Gear Used
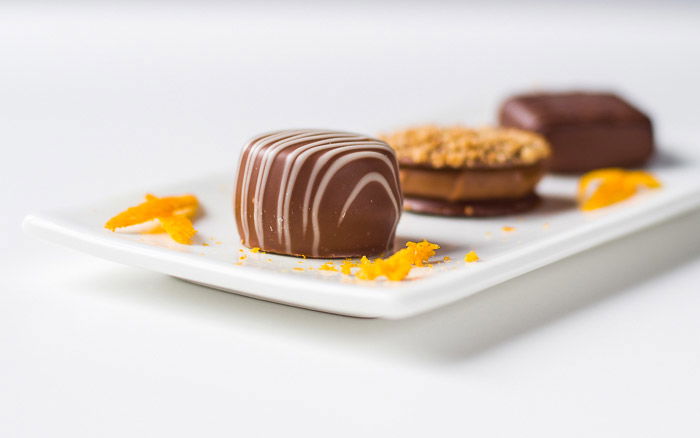
Camera: Olympus OM-D EM-10 Mark IV Micro Four-Thirds camera Lens: Olympus Zuiko OM 50 f/1.4 (equivalent to a 100mm lens on full frame) Accessories: tripod and a +2 close up lens Light source: natural lighting Light modifier: circular reflector White 100x70cm cardboard as background and white 50x70cm cardboard as stage
Lighting setup
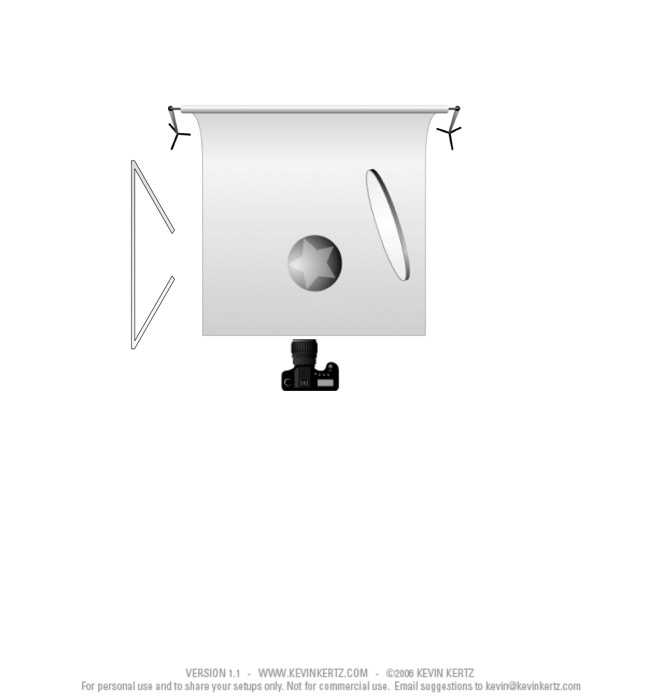
Setup: High Key Key light: a window to the left of the scene Fill light: circular reflector on the right of the scene
This is a classic setup in food photography. I decided to photograph dark chocolate pralines, creating contrast by choosing a nice High Key image. I have used a long and narrow white plate, decorated with orange peel, to display the pralines. And then I focused on the first chocolate.
Case Study #3
Gear Used
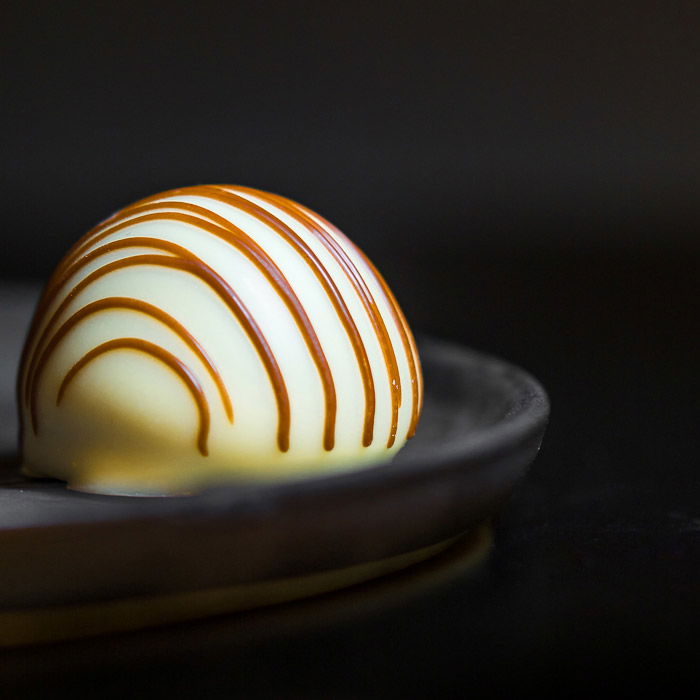
Camera: Olympus OM-D EM-10 Micro Four-Thirds camera Lens: Olympus Zuiko OM 50 f/1.4 (equivalent to a 100mm lens on full frame) Accessories: tripod and a +3 close up lens Light source: iPhone 5S Light modifier: circular reflector Black (matte) 100x70cm cardboard as background and black (glossy) 50x70cm cardboard as stage
Lighting setup
Setup: Low Key Lighting Key light: iPhone 5S running the pro version of the Soft Box Color app from above the scene on the right Fill light: circular reflector on the front right of the scene
In order to stand out, white chocolate pralines call for Low Key images. A dark grey plate was used to display a single white praline decorated with caramel. The use of a +3 close up lens allowed me to get really close to my subject. I then decided to crop the image in square format, with the subject off-center. It provides a better and even tighter composition.
Case Study #4
Gear Used
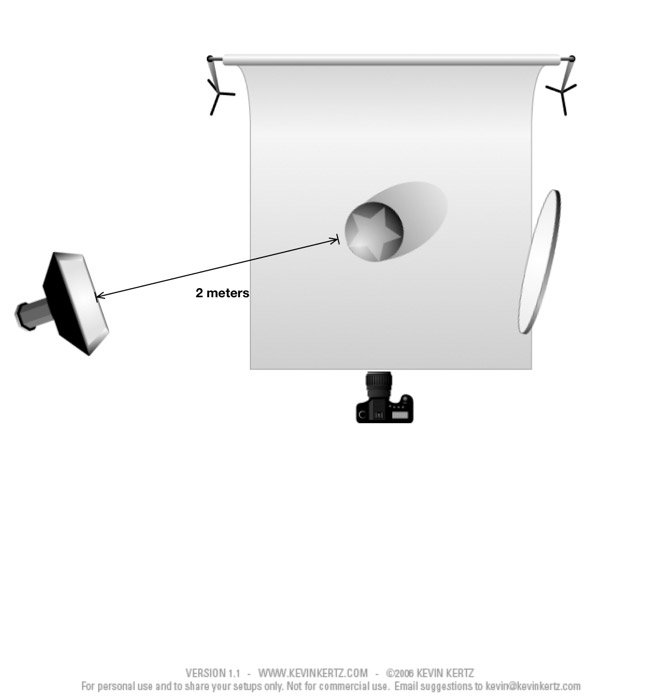
Camera: Olympus OM-D EM-10 Micro Four-Thirds camera Lens: Sigma Art 30mm f/1.4 DN (equivalent to a 60mm lens on full frame) Accessories: tripod, light stand (a simple lollipod tripod), 3m long E-TTL cord Light source: flashgun Metz 48 AF-1 digital in manual mode, output power set to 1/16 Light modifier: circular reflector, softbox Black (matte) 100x70cm cardboard as background and black (glossy) 50x70cm cardboard as stage
Lighting setup
Setup: Low Key Key light: flashgun on the right side of the scene, a couple of meters away Fill light: circular reflector on the left of the scene
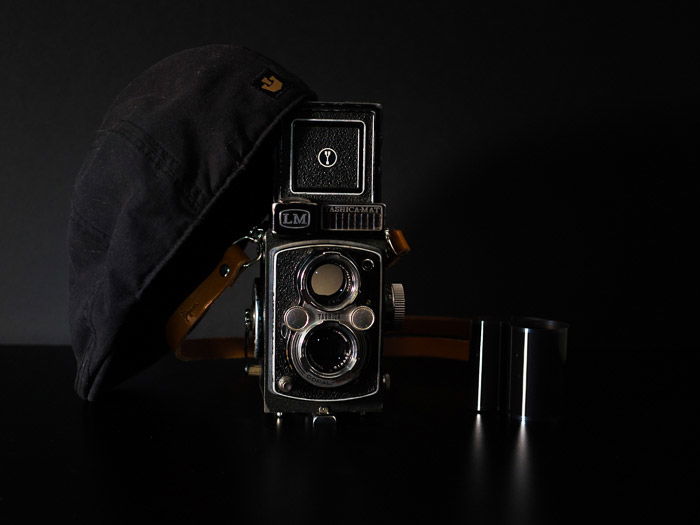
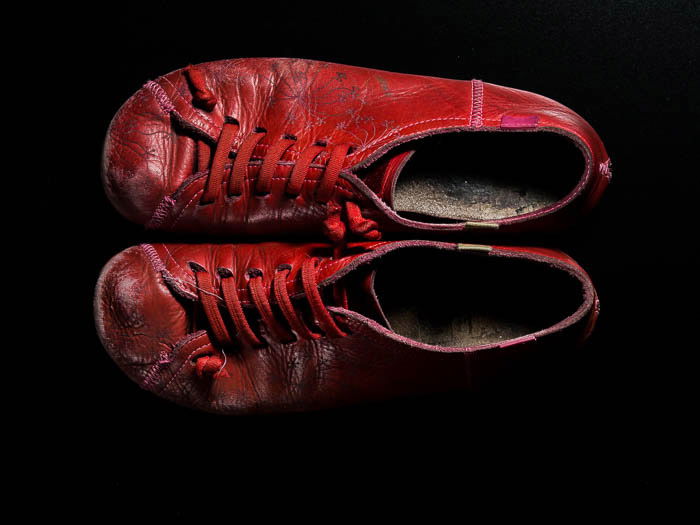
A more complex setup for this Low Key scene is showing my Yashica-MAT LM TLR medium format film camera from 1950 (still in working condition, by the way). The props used to fill the scene were a used roll of 120 film and my favourite hat. I also made sure the Figosa leather strap was clearly visible. Note that you do not need to be in a pitch-black environment to do this kind of low key image. Actually, you can even do them in broad daylight, as long as you are ok with using very narrow apertures. It is best to take a shot without flash to get a black image of the scene (e.g. using very fast shutter speeds, lowest ISO settings and narrow apertures). Then, connect the flash and take the real photo. The scene will be illuminated by the flash only, regardless of the amount of ambient light. Remember, you can out power the Sun with a flashgun. This kind of setup is great if you want to reveal textures and make your shot moody. This is what I did for the used red Camper Peu leather shoes shown in the photo below.
Use Creativity for the Best Still Life Shots
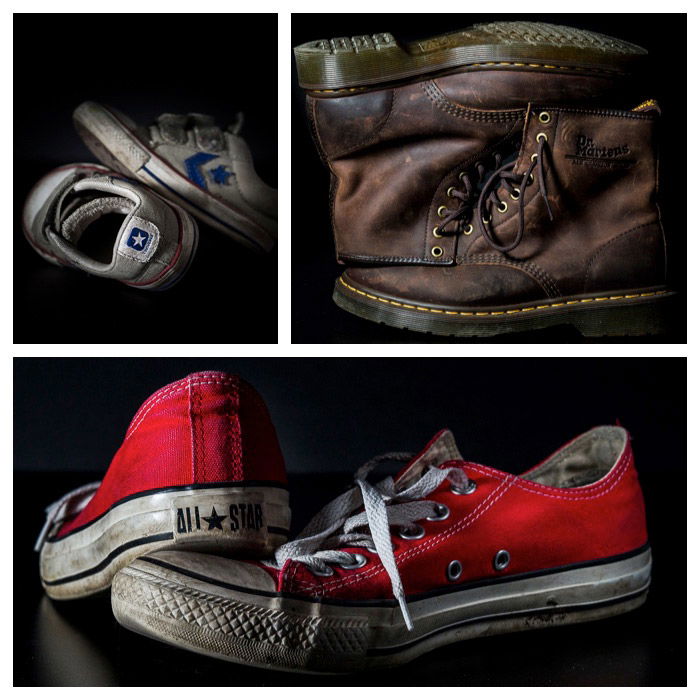
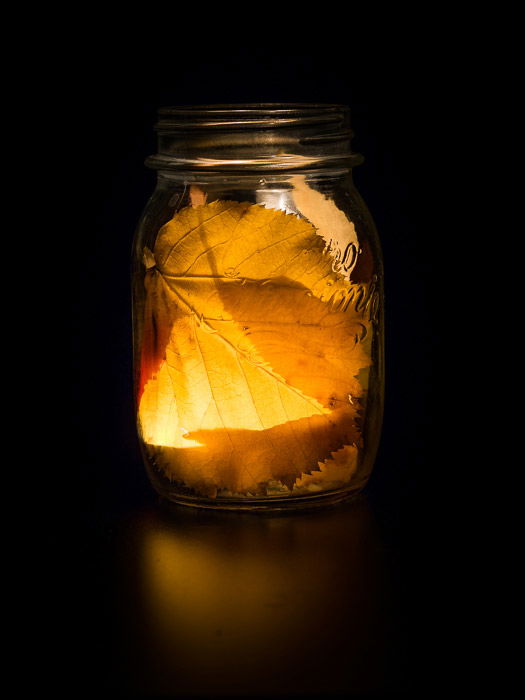
As you have seen, you can do quite a lot with minimal equipment. You can photograph whatever you want, as long as you have the place to stage it and enough light power to light it. The main limit is your creativity. Until now, I presented you quite classic still life images, but you can go for completely different things. I love to use setups based on that of the case study #4 to photograph old, battered shoes. My favourites are old Converse All-Stars and leather shoes because of the texture. And what about Autumn in a vase? For this shot, I put some yellow leaves inside a jar and lit a candle inside.
Technical Tips for Still Life Photography
Low Key Setup
For low key photography, I prefer to work in low light. I build my set with two pieces of black cardboard: the one I use as the stage (50×70 cm) has a glossy finish, while the one for the background (100 x 70 cm) is matte. The flash is off-camera, on its light stand, and I usually place it on the front/side of the set. This setup is very similar to the one used in the case study #4, and the resulting photo is shown below.
High Key Setup
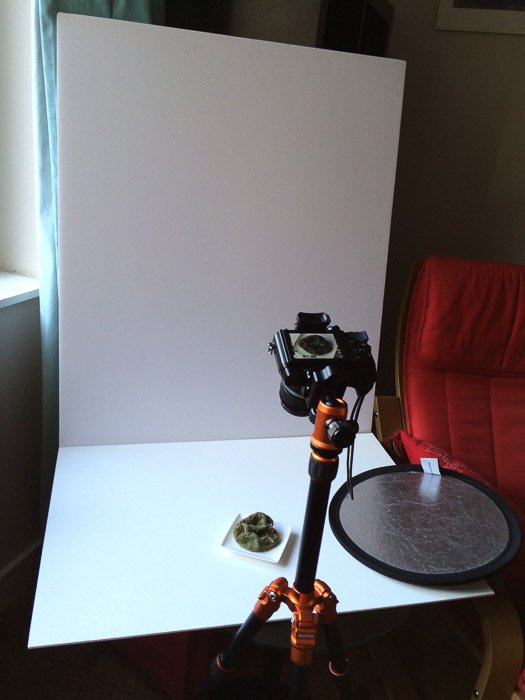
This is my typical setup for high key photography: Two pieces of white cardboard. The one for the floor stage (50×70 cm) is resting on a coffee table. The background (100×70 cm) is vertical and on a rest foot. The set up is next to a window to ensure a good amount of natural light to work with. It is best to avoid windows exposed to direct sunlight because of the harsh light that will land on your set. Overcast days are the best since the sky will act as a huge softbox.
Fill Light
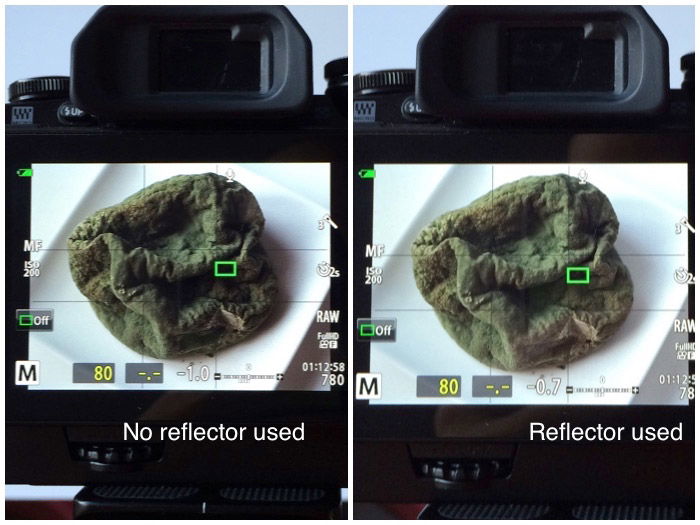
In the photo above, you can see my small, double-sided silver/white circular reflector (33 cm in diameter) from Lastolite. I use it to soften the shadows by bouncing back some of the light into the scene. The photo below shows a comparison between a scene photographed with (on the right) and without (on the left) a reflector. As you can see, the shadows in the right image are softer when the reflector is used and the scene is more pleasant.
A Few Words on Focusing and Focus Stacking
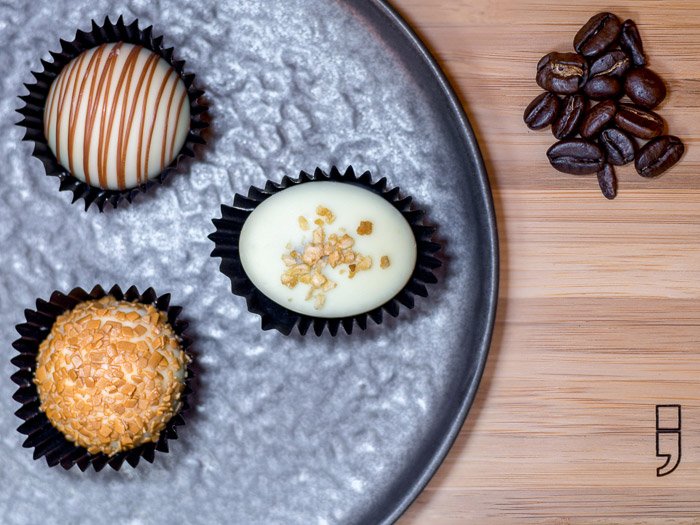
First of all, forget autofocus and go manual: you want to have absolute control of what is in focus and what is not. If your camera has it, use the live view and turn on any possible manual focus assisting function you have. Image magnification, focus peaking, or a combination of the two. For this kind of shot, where you have a narrow depth of field, and you need to focus, have your camera mounted on a tripod. Use a remote shutter or the self-timer, to avoid camera shaking. Be aware of one problem that you may have to face when working with macro or close up lenses; the very narrow DOF. Sometimes, even a small subject cannot be all in focus. If stepping down your lens, (i.e. selecting a smaller aperture is not desirable) or the resulting DOF is still too narrow, the only solution left is to do focus stacking. Focus stacking tends to happen in post-processing. But there are now some cameras that allow you to do in-camera focus stacking (e.g. the Olympus OM-D EM-1 with the latest firm update). In Photoshop, focus stacking is done by selectively merging some photos where each photo is focused on a different part of the scene. This technique involves loading your images into Photoshop as layers. You then mask out the unwanted parts of the images before merging the layers to create the final image. For example, consider the photo below: a bird’s eye view on some of the finest Belgian pralines. To get this final image, I had to focus stack three different photos to get all the different elements in focus. The first photo had the wooden board in focus, the second one focused on the coffee beans to the right. For the last one, I focused on the pralines. A focus stacked bird’s eye view of Belgian pralines.
Learn More With Useful Links
If you want to learn more about still life photography, here are a few interesting ideas that you may want to check out:
Cyrill Harnischmacker’s “Tabletop Photography” book, also available for kindle. Lara Gelroks’ great articles on diyphotography.net about commercial photography. Cristina Colli’s interview on how she takes amazing still lifes of flowers with her iPhone.
These are just a few links, but really, a simple query via google will find you plenty of interesting results.
Conclusions
You do not need to invest a great deal of money to wet your feet in still life and tabletop photography. I hope I have inspired you to give it a try! To perfect your still life shots, edit them in Lightroom. Try our Effortless Editing course and get started today!
