Tips for Better Outdoor Photography
Avoid Midday Sun
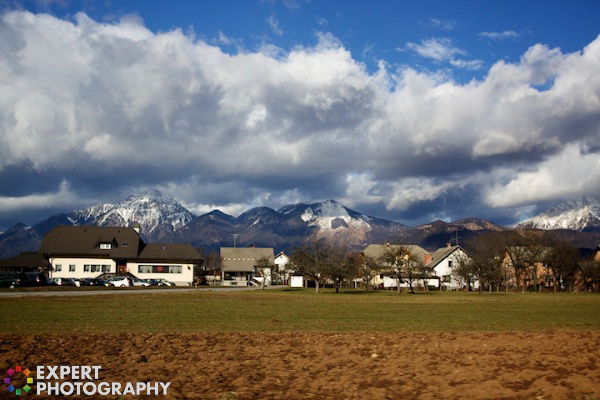
This is really rule number one, and it’s not just midday, I find it lasts from anywhere between 11am and 3pm. You basically can’t shoot in midday sun, and I’ll tell you why. When the sun is directly above us, it’s at it’s strongest, without the shade that is provided in earlier and later hours. There’s very little diffusion for the light, so your camera is just hit with this really harsh light that you can’t control. With this strong light, there’s typically a sharp shadow too. You’re left with your camera not being able to properly capture either the light, or the dark parts of the photo. This results in horrible exposure. But there are some things you can do about this. Don’t go inside, step into the shade. This will make a dramatic difference to your photos, as you’ve managed to completely diffuse the light, and you can overexpose the background if you like, because it’s not so important. Your photos look great, straight out of the camera, like below.
Use a Polarizing Filter
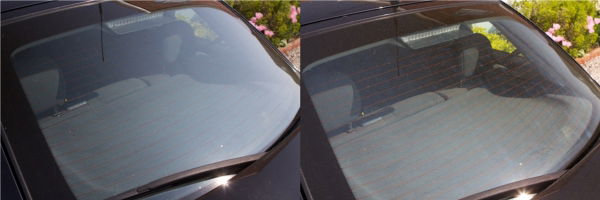
If you shoot outdoors much at all, and you don’t own a polarizing filter, then that should be at the top of your next shopping list. The way polarizing filters work is by only letting light in from certain angles, so if we rotate the filter to how we like it, we can remove unnecessary glare. The remove reflections from the ground, windows, water, etc. and they darken the sky at the same time. There are plenty of reasons to want one, and if you want to learn more about polarizing filters, click here. Buy your own: Tiffen 49CP 49mm Circular Polarizer [ExpertPhotography is supported by readers. Product links on ExpertPhotography are referral links. If you use one of these and buy something we make a little bit of money. Need more info? See how it all works here.]
Shoot During the Golden Hours
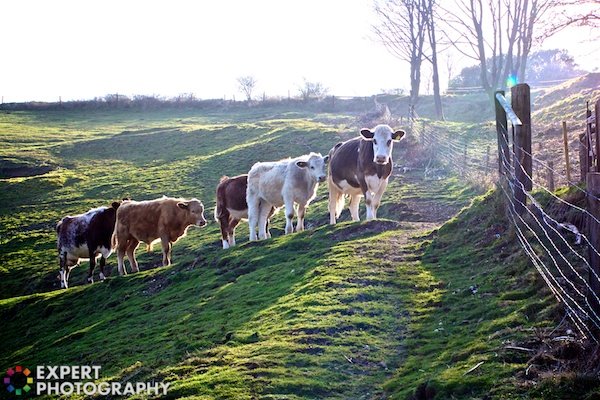
I’m sure you’ve heard this before, but what are the golden hours? Well, they’re the hour after the sun comes up, and the hour, right before it goes down. What’s so great about these hours? Well, this takes us back to not shooting in the midday sun. Rather than dealing with this really harsh light that our camera (and our eyes) struggle to deal with, the light in the evening is much softer. Because it’s low in the sky, it’s a less dominant force in the photo, we get a lot more natural shadows, and that suits our cameras dynamic range. Have a look at the shadows in the photo below to see what I mean.
White Balance
For the love of all that is holy, get your white balance correct. You may not realise it, but during the day, there can be very minor changes which will make a big difference. The trouble with white balance during the day is that the light is constantly changing, and you have to do whatever you can to adjust for different light. You’re likely going to be switching from AWB, to cloudy, to daylight, to shade, etc, but this often won’t cut it. Just too far the wrong way, and it can give your photo the completely wrong feeling. Shoot in RAW and correct it later if you need to.
Horizon
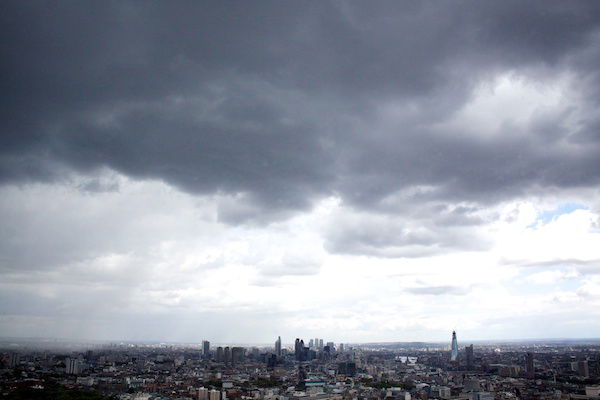
If you’re shooting outside, then chances are there is going to be some sort of horizon present. This isn’t always so, but it often is. There are basically two things you need to consider. Firstly, is the horizon straight, and if not, do you have a good reason for why it’s not? A wonky horizon is going to throw off the viewer, and distract their attention. Secondly, where are you placing the horizon? I would strongly suggest you read this post to get a better understanding of what I’m talking about: Horizons. You can dramatically change the feeling of your photo by moving where your horizon is in your photo. It comes down to basically three factors. What is the most important part of the frame? If you have a beautiful sky, don’t go including the foreground too much. Where do you want your viewers to look? Is there a small element of the frame you would like the attention to be drawn to. Placing the horizon very low will help with this. Lastly, how do you want your viewer to feel? A low horizon can feel quite precarious, and a high horizon can feel suffocating at times. Work with what you’ve got.



title: “5 Best Outdoor Photography Tips For Beginners” ShowToc: true date: “2023-01-09” author: “Lana Gordon”
Tips for Better Outdoor Photography
Avoid Midday Sun
This is really rule number one, and it’s not just midday, I find it lasts from anywhere between 11am and 3pm. You basically can’t shoot in midday sun, and I’ll tell you why. When the sun is directly above us, it’s at it’s strongest, without the shade that is provided in earlier and later hours. There’s very little diffusion for the light, so your camera is just hit with this really harsh light that you can’t control. With this strong light, there’s typically a sharp shadow too. You’re left with your camera not being able to properly capture either the light, or the dark parts of the photo. This results in horrible exposure. But there are some things you can do about this. Don’t go inside, step into the shade. This will make a dramatic difference to your photos, as you’ve managed to completely diffuse the light, and you can overexpose the background if you like, because it’s not so important. Your photos look great, straight out of the camera, like below.
Use a Polarizing Filter
If you shoot outdoors much at all, and you don’t own a polarizing filter, then that should be at the top of your next shopping list. The way polarizing filters work is by only letting light in from certain angles, so if we rotate the filter to how we like it, we can remove unnecessary glare. The remove reflections from the ground, windows, water, etc. and they darken the sky at the same time. There are plenty of reasons to want one, and if you want to learn more about polarizing filters, click here. Buy your own: Tiffen 49CP 49mm Circular Polarizer [ExpertPhotography is supported by readers. Product links on ExpertPhotography are referral links. If you use one of these and buy something we make a little bit of money. Need more info? See how it all works here.]
Shoot During the Golden Hours
I’m sure you’ve heard this before, but what are the golden hours? Well, they’re the hour after the sun comes up, and the hour, right before it goes down. What’s so great about these hours? Well, this takes us back to not shooting in the midday sun. Rather than dealing with this really harsh light that our camera (and our eyes) struggle to deal with, the light in the evening is much softer. Because it’s low in the sky, it’s a less dominant force in the photo, we get a lot more natural shadows, and that suits our cameras dynamic range. Have a look at the shadows in the photo below to see what I mean.
White Balance
For the love of all that is holy, get your white balance correct. You may not realise it, but during the day, there can be very minor changes which will make a big difference. The trouble with white balance during the day is that the light is constantly changing, and you have to do whatever you can to adjust for different light. You’re likely going to be switching from AWB, to cloudy, to daylight, to shade, etc, but this often won’t cut it. Just too far the wrong way, and it can give your photo the completely wrong feeling. Shoot in RAW and correct it later if you need to.
Horizon
If you’re shooting outside, then chances are there is going to be some sort of horizon present. This isn’t always so, but it often is. There are basically two things you need to consider. Firstly, is the horizon straight, and if not, do you have a good reason for why it’s not? A wonky horizon is going to throw off the viewer, and distract their attention. Secondly, where are you placing the horizon? I would strongly suggest you read this post to get a better understanding of what I’m talking about: Horizons. You can dramatically change the feeling of your photo by moving where your horizon is in your photo. It comes down to basically three factors. What is the most important part of the frame? If you have a beautiful sky, don’t go including the foreground too much. Where do you want your viewers to look? Is there a small element of the frame you would like the attention to be drawn to. Placing the horizon very low will help with this. Lastly, how do you want your viewer to feel? A low horizon can feel quite precarious, and a high horizon can feel suffocating at times. Work with what you’ve got.


