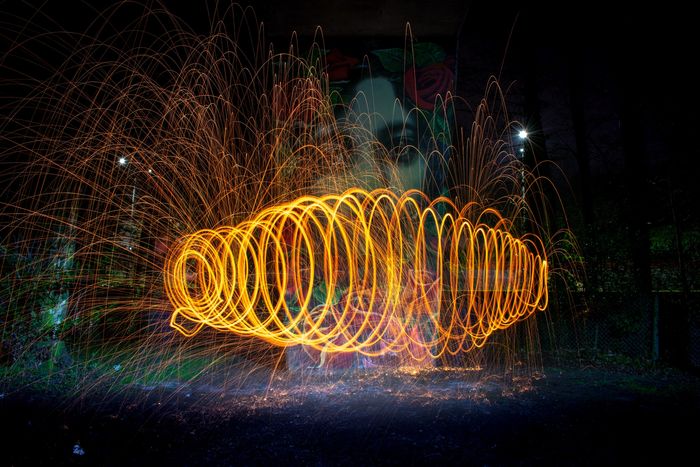
You can take similar impressive photos with learning the tricks of steel wool photography. Read this article to get to know more about the equipment, the camera setup, and the safety steps you need when photographing steel wool.
Steel Wool Photography: What is Steel Wool and Where to Get It?
Steel wool or wire wool is a bundle of fine and flexible sharp-edged steel strips. Woodworkers, metal craftsmen, and jewellers use steel wool to smooth and clean working surfaces. We can polish metal or wood objects with it and also clean cookware or windows. You can buy steel wool at home improvement or hardware stores. In photography, steel wool combined with long exposure lets you create stunning images. As you are spinning the burning material, your camera captures the sparks and long light streaks that the motion creates. This technique does not require an expensive setup or pricey gear, which is great news for many photographers.
What Equipment Do You Need for Steel Wool Photography?
Here is a list of items you need for steel wool photography:
- Camera and lens;
- A sturdy tripod and shutter release cable;
- A dark location;
- Steel wool;
- String; 6. Stainless steel whisk (DO NOT use silicon); 7. Protective gloves and safety equipment; 8. Lighter;
- A helping friend (optional).
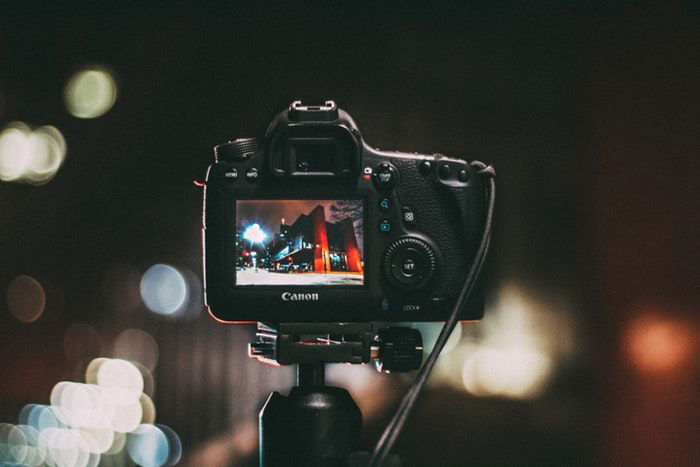
11. Choose Your Camera and Lens Carefully
Much like other light painting photography, steel wool technique doesn’t require an expensive camera or lens. All you need is a camera that you can set to manual mode and a lens of your choice. I prefer to use a wide-angle lens as it can make my photos appear closer and more unique. You could also use a fisheye lens to combine light painting with the barrel distortion produced by the lens. The lens and the focal length can influence the mood of your photos. Keep in mind that your camera has to be in a safe distance from the steel wool sparks. Choose a focal length that allows you to capture the whole scene. If the focal length is too long and you don’t have a cable release, you have to run back and forth a lot. Put a protective filter on your lens if you are using your camera in close proximity to the lit steel wool. The heat can cause a fire stretch which is expensive to repair. We recommend you using a UV or Polarising filter.
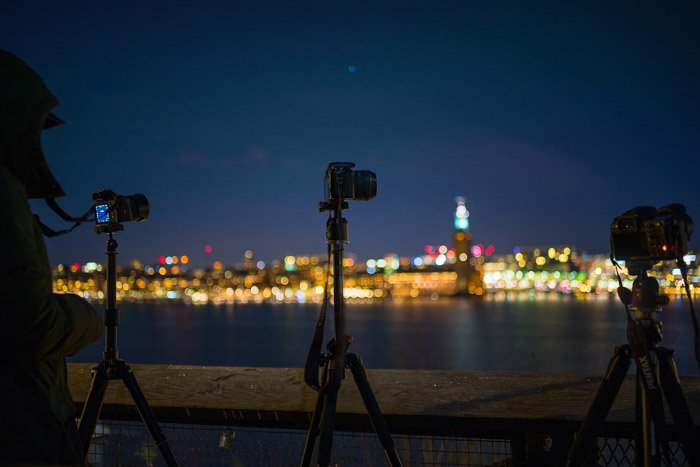
10. Bring a Steady Tripod and Shutter Cable
Like any other long-exposure photography, steel wool photography needs a steady tripod to enable your camera to remain stable while exposing. This limits any chance of getting a blurry image. You will also need a shutter cable to prevent the camera from shaking. A self-timer would also suffice.
9. Find the Ideal Location
You will need a dark location to photograph spinning steel wool. It has to be far away from any flammable material. Wooden buildings, trees, grass and vehicles can catch fire. Never choose a location close to historical monuments. Keep in mind that steel wool photography might be illegal if you do it close to private property or a highway. There were unfortunate cases when photographers set buildings or old boats on fire by accident. It’s dangerous, and the damage can ruin photographers’ reputation, so be careful. Keep kids and pets away from steel wood photography. Only practice this technique in a safe, secluded area, away from the general public. The best time to shoot with steel wool is after a rainfall when the environment is still damp. You can also have great shots on the snow in a winter evening. A beach could be a suitable location for steel wool photography too.
8. Select the Grade of the Steel Wool
There are many grades of steel wool and the smaller the numbers, the finer the grade of the wool.
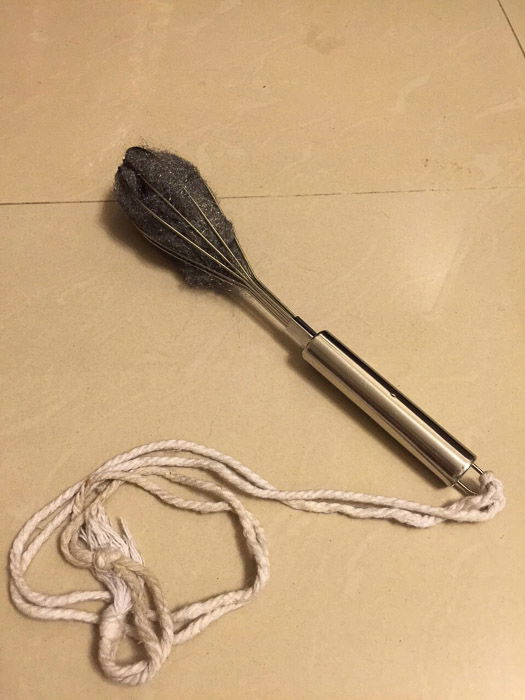
7. Get a String for Spinning
You need a string to spin the steel wool. You can use a rope, a chain, or even a leash. I recommend a string that is 1-1.5m long. You want to hold the whisk an arm-length away. Don’t let the rope hit floor-length. You want to see the sparks flying out from the whisk and hitting the floor. Ensure that you tie your whisk and string sufficiently to limit accidents.
6. Use a Stainless Steel Whisk
The cage of a whisk will hold the steel wool. Use the hook at the top of the handle to tie the string to. Pack the wool inside the whisk. Don’t stuff it in too tight because you want to allow the oxygen to flow in and speed up the burn. This can get easier if you use fine steel wool for photography. Please note: Steel wool will reach high temperatures when lit. DO NOT use a silicone whisk as it will melt. The burning steel wool might destroy the steel whisk too so get a few pieces of a cheap version. Practise spinning around the whisk on the rope a few times before you lit the steel wool. You want to be comfortable and able to control the rope before the actual photography begins.
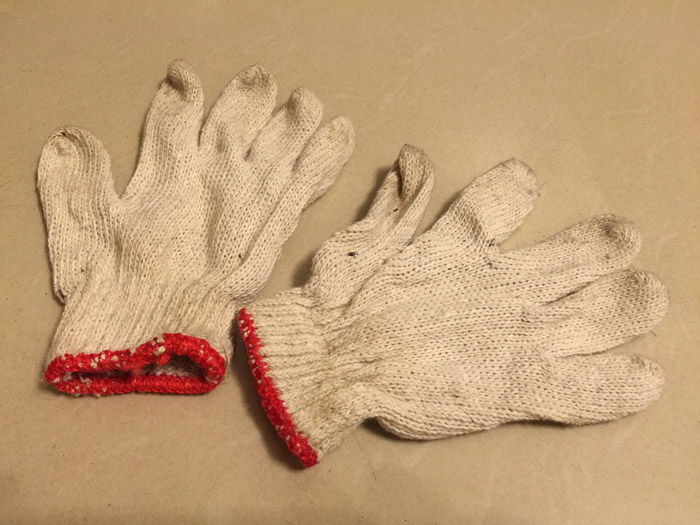
5. Use Protective Gloves and Safety Equipment
Capturing these types of images can be extremely dangerous. Spinning steel wool that is lit can cause sparks to spray out and could harm you, your equipment and others. Please take great care if you choose to try this technique! Steel wool can be sharp. Wear protective gloves to save your hands from getting cut while handling the steel wool. The burning material can be very dangerous. Use protective clothing that covers your skin. Wear a hat to protect your hair and head. Make sure to cover your eyes with safety glasses or even a face shield. Always take a fire extinguisher to your shooting location, even if there is nothing flammable. Ensure that all fire is out before leaving your location. I recommend that you remain at the scene for at least 10 minutes to be sure. Safety first!
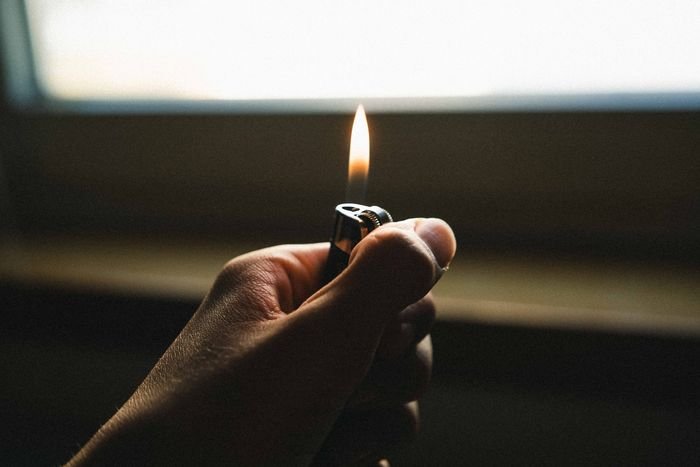
4. Bring Something to Light Fire
You can use an old-school lighter or a rechargeable candle lighter to lit the steel wool.
3. Adjust Your Camera Settings
Steel wool photography settings are similar to the ones you would use for light painting. Manual focus and long exposures are essential for great photos. We also advise you to shoot in RAW for better editing. The best time for steel wool photography is in the evening or around twilight when it gets dark. First, set up your camera on the tripod and compose the image. Set your camera to manual mode for capturing the long exposure. You can use a small torch to visualize where the steel wool will be spinning and manual focus on that spot. The ideal aperture is around f/8 or f/16 because it lets you keep the entire scene in focus without lens diffraction. Set the ISO to 100 or 200 to make sure that the brightness of the steel wool doesn’t ruin your picture.
The shutter speed is the most important factor in steel wool photography. A long exposure between five and twenty seconds will get you enough time to capture the lights’ movement. A whisk of steel wool will burn for around 10 seconds. You need to have at least 5 seconds of exposure time to capture the spinning motion. Set the white balance to auto or tungsten. Take a test shot to see how the background looks. I prefer 1 to 2 stops dimmer than normal exposure because the burning steel wool will brighten up the environment. If the camera settings look good, the fun part begins! Light up the steel wool and start spinning the whisk. The wool doesn’t have to be on fire as the air going through it will create enough sparks. Press the shutter button as soon as the person starts spinning. If your exposure time is 10 seconds, you should be able to get two or three frames before the steel wool burns out. To avoid camera shake, set a self-timer in your menu or use remote control.
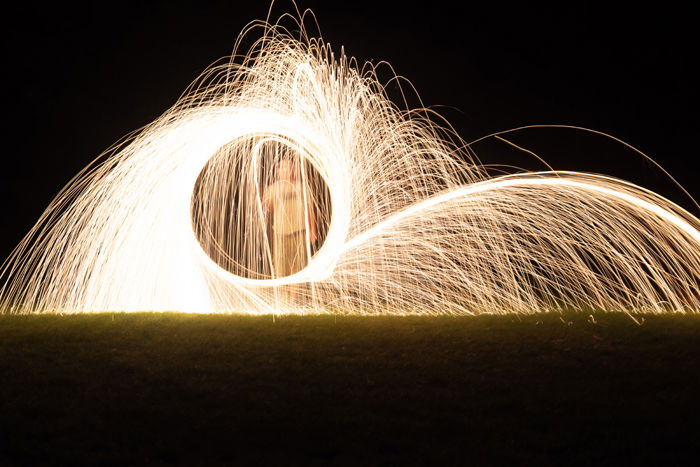
2. Add Other Creative Photography Techniques
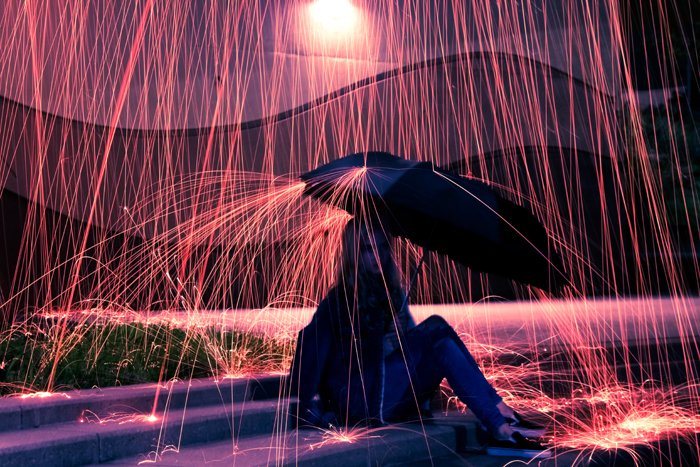
Once you practised steel wool photography basics, you can start getting creative. If you want to create stunning spirals, zoom in and out during exposure. You can also adjust the white balance to create different colors or dramatic effects. Why not adding other light painting photography techniques to make your images even more exciting? Use glow sticks or gel flash to create various effects. You can also position a person in the foreground such as the girl with the umbrella in the picture below. Different spinning will offer you a different image. Below are a few techniques that I have learned from my experience.
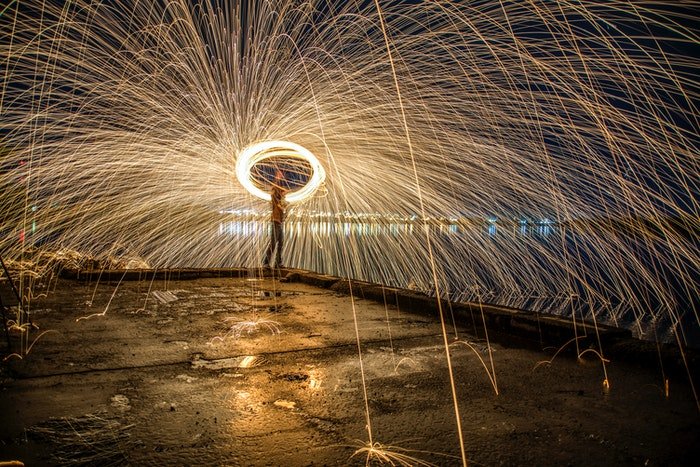
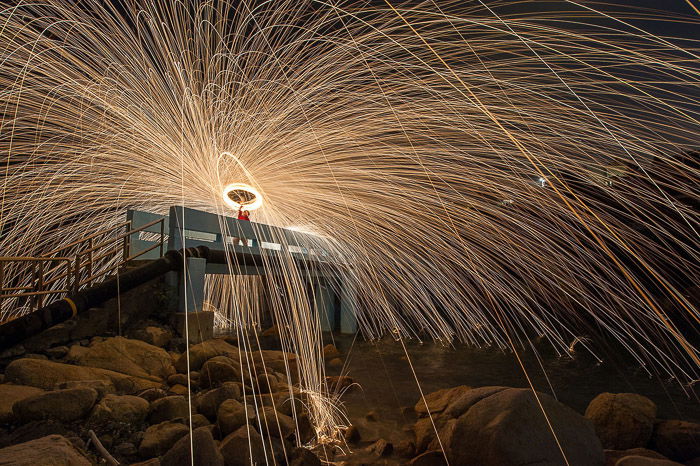
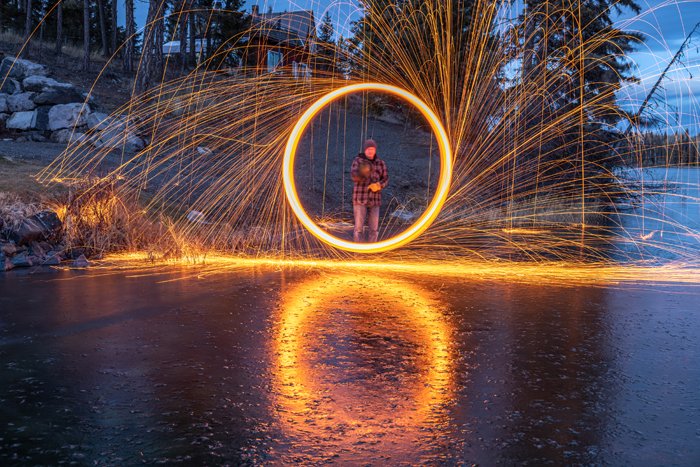
Vertical Spinning
Vertical spinning will give you a nice fire circle with sparks flying out beautifully.
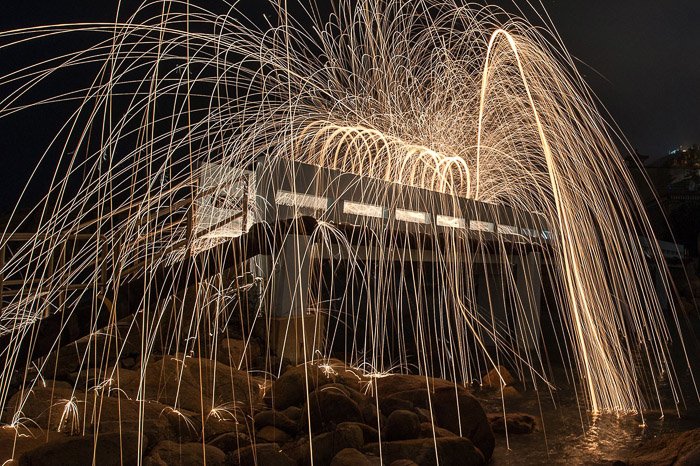
Horizontal Spinning
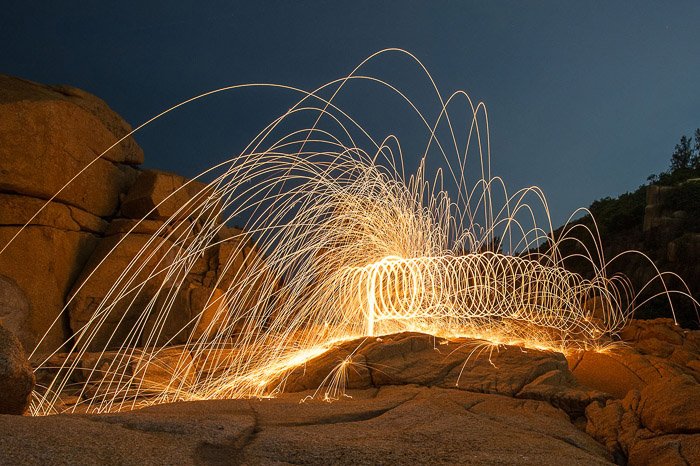
Horizontal spinning will make the sparks feel much closer. The sparks flying towards the camera will create a line of attention.
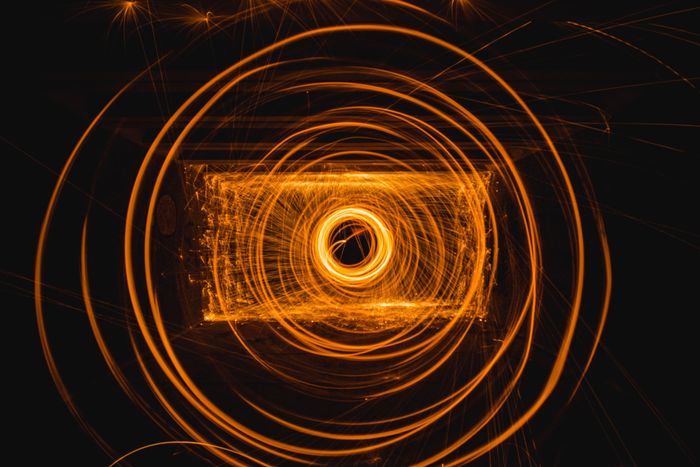
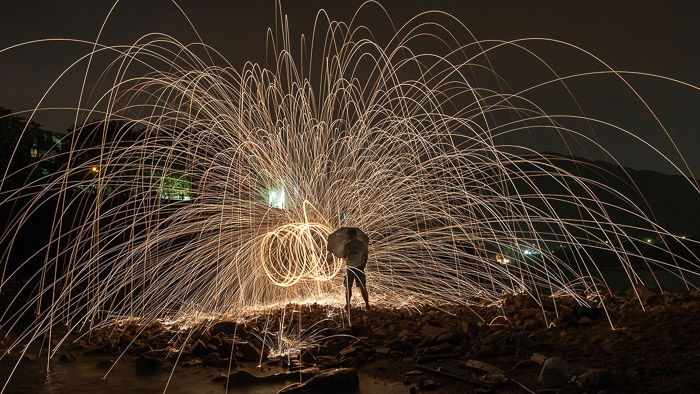
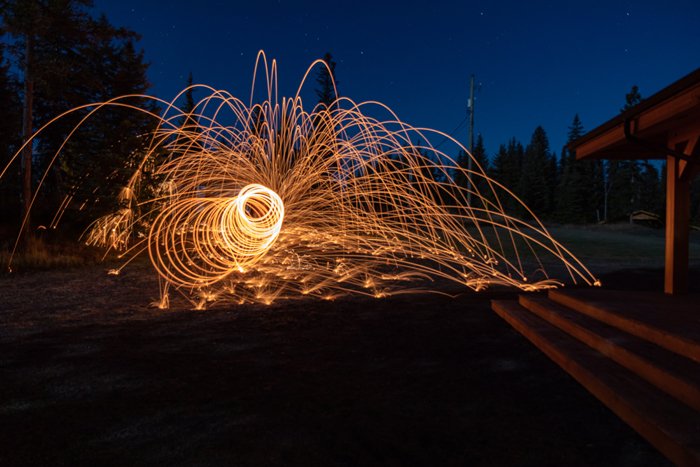
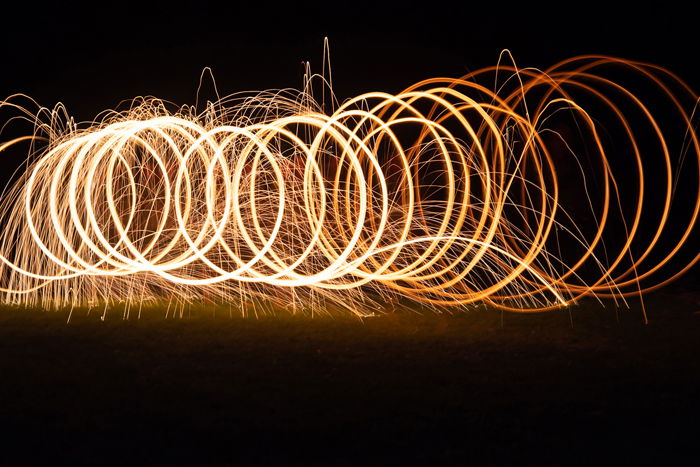
Spinning While You Walk
When you spin while walking, you will get vortex-like images. This spinning technique is particularly effective with a dark background.
1. Perfect Your Photography in Post-Processing
So how do you edit steel wool photography? Like in other types of creative photography, steel wool does not always require post-processing for stunning results. But it can help you enhance your pictures. You can change the color balance or adjust the highlights to give your photos a different mood. Cropping the image and getting rid of the background can also change the overall look of your photos.
Conclusion
Steel wool photography is a creative but risky technique to get fantastic results. You can end up with unique photos by using only a few simple tools. The direction of the sparks will always be different, so you will get various images. Make sure you practice the movements enough and always take safety measures.
Examples of Steel Wool Photography
Steel wool photography is one of the topics we cover in our creative photography course, Wow Factor Photography. Below are some of the photos taken by our students. If you’d like to learn more, check out the course here.